Learn Mockarty in the app
The guided tour points to real controls while you use Mockarty. Begin with one HTTP mock, then explore how a team moves from a task and shared knowledge to tests and results. Each main menu page has a short tour of its own.
Start your first tour
After your first sign-in, choose Start tour in the welcome card. This short tour begins with the Mock Constructor, even if you opened another page first. Open the account menu in the top-right corner for Guided tour on the current page or Explore Mockarty for the product-wide path.
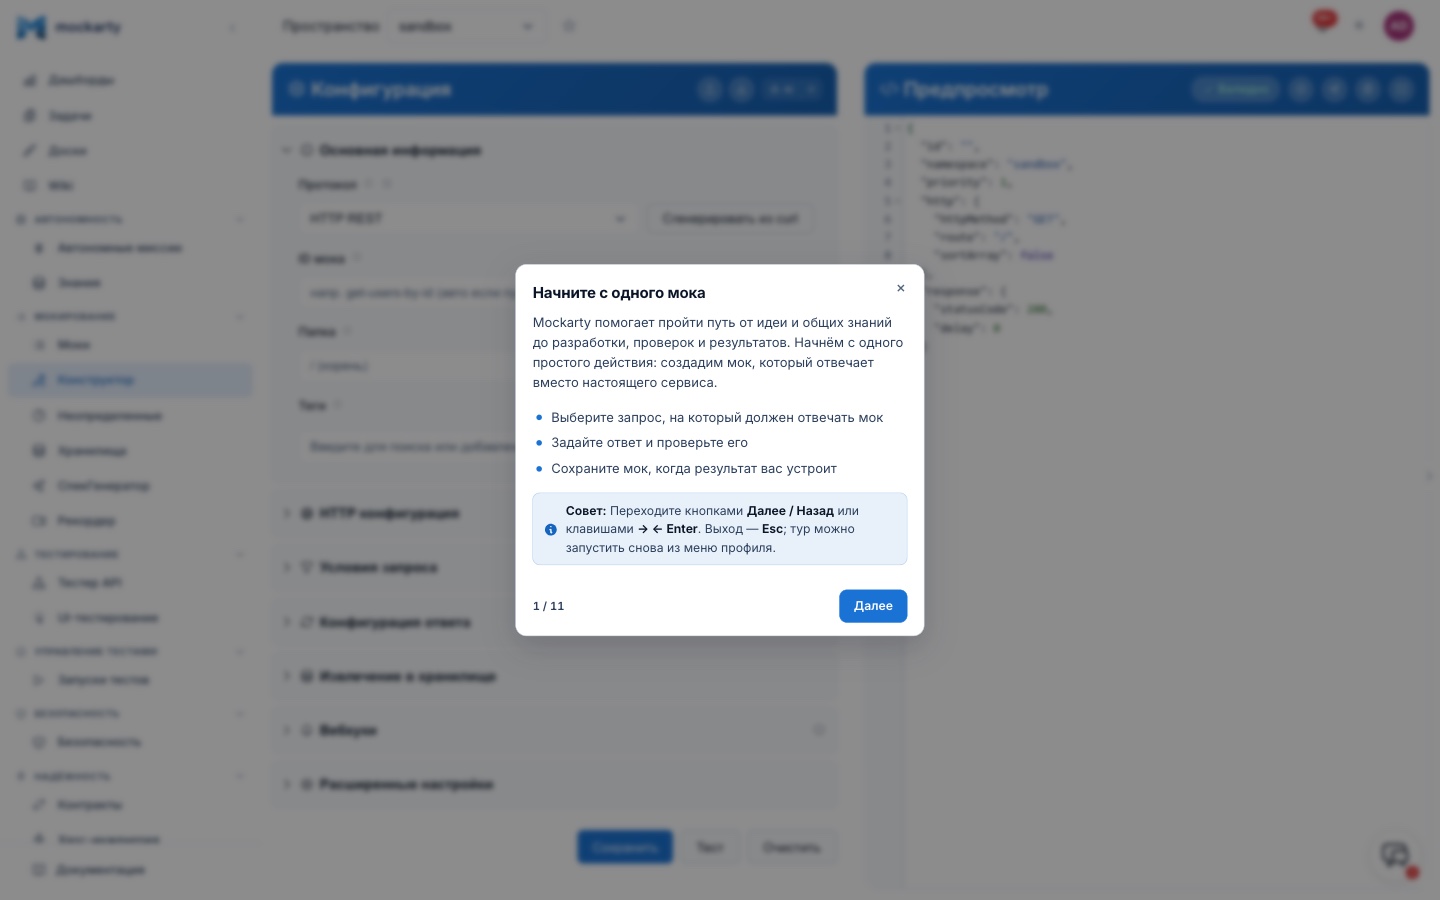
Use Next and Back to move between steps. Esc or the close button exits. You can start a tour again from the account menu. The tour explains what to do; pressing Next can skip an exercise, so check the result in the form before moving on.
Your first HTTP mock
- Keep HTTP REST selected in the Constructor. Choose Load example if you want a filled form to inspect.
- In the highlighted path field, try typing your own path, such as
/hello. The tour continues after you change it. You can press Next if you prefer to keep the example path. - Look at the response status and body. Use Test to inspect the response before saving. Fix any error shown by the form.
- Choose Create to save. Check the success message. A successful save makes the mock available at your namespace’s
/stubs/<namespace>/...URL.
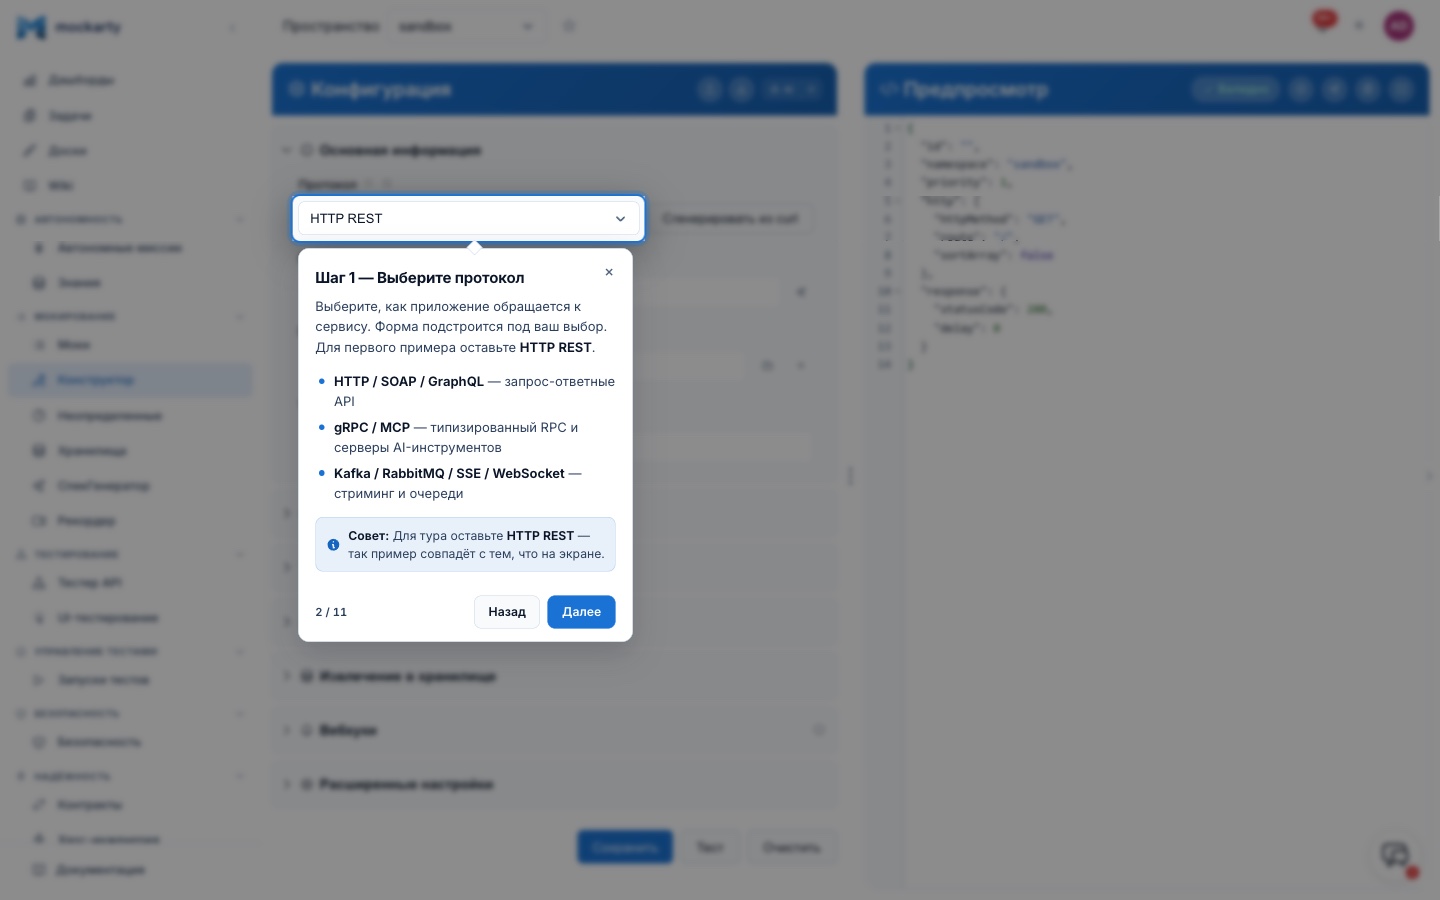
For a complete example, including a request to the saved mock, follow Quick Start. The tour helps you locate controls; Quick Start gives you the URL and commands to verify the response.
See the whole workflow
Choose Explore Mockarty from the account menu or at the end of the first mock tour. It points out Tasks, Wiki, Missions, API Tester, Test Plans, Dashboards and Project Memory in the menu. You can see how they fit together without changing data. Open a page when you are ready to try it. Your role and installation determine which controls you can use.
You can leave with Esc at any time. On each page, start Guided tour to learn the controls in more detail. For example, the Tasks tour covers the board and project selector; the Missions tour explains product context and the work tabs; the Project Memory tour shows review and context preview.
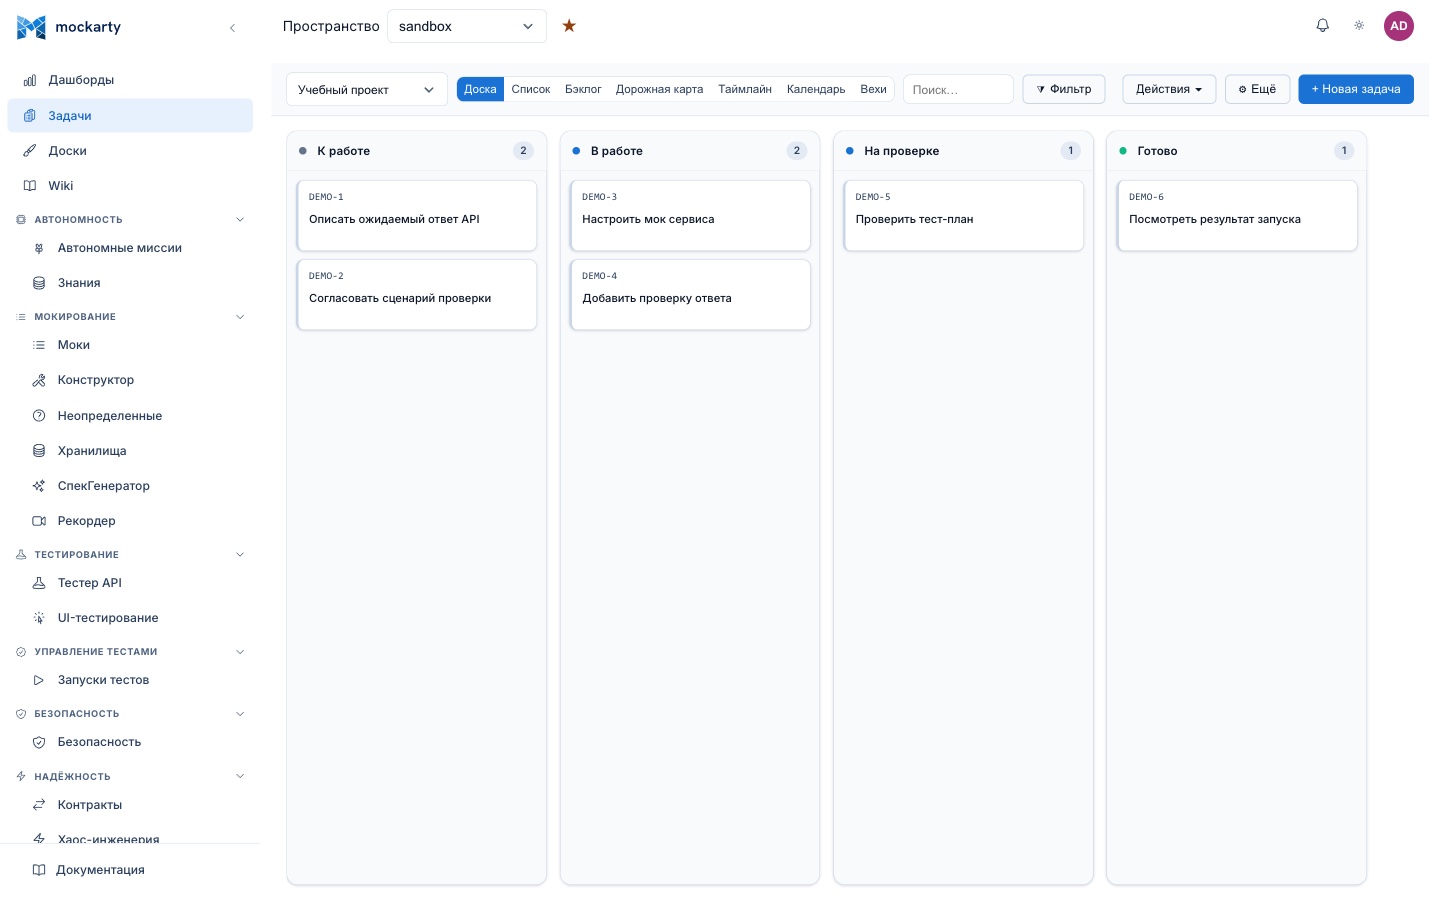
The board in the image uses example tasks. Your projects and tasks will be different.
Continue when you are ready
At the end of the constructor tour, choose Advanced: build mocks for real to practice with two protocols, or open API Tester to send a request. The advanced tour highlights actions but does not confirm that a request or save succeeded. Read the result shown by the interface before continuing.
Main menu pages have their own tours. Open a page, then choose Guided tour from the account menu. For example, the Stores tour explains where shared values and reusable prompts live. Administration and Desktop tours appear on those screens when your installation and role provide them.
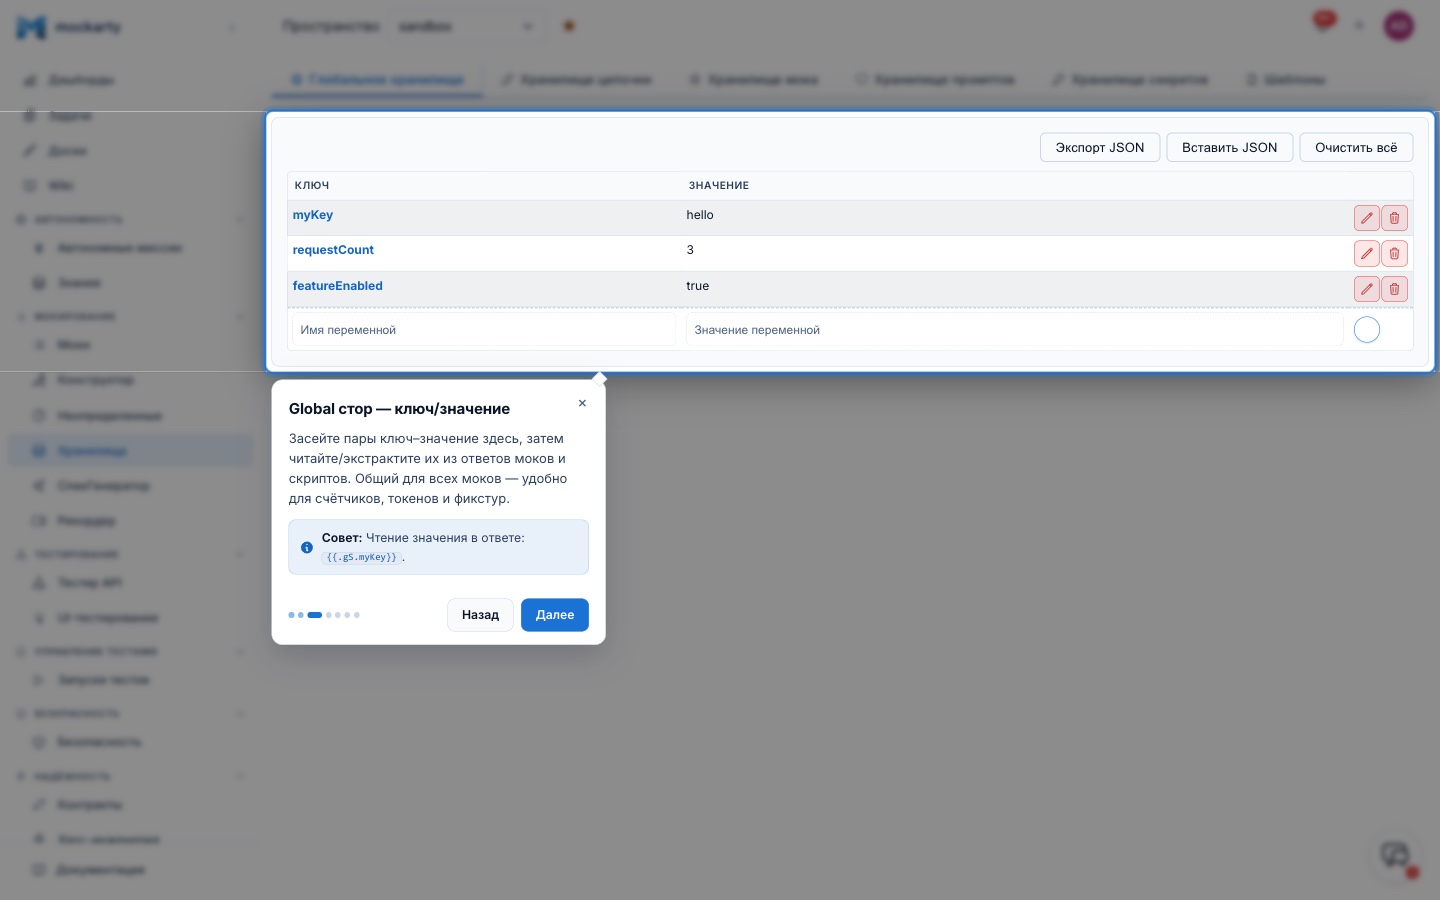
The values in this image are examples. Your store shows the values in your own space.
If a page has no tour yet, use the Web UI Guide or search the documentation by feature name.