Integrations Guide
Mockarty is not just a standalone mock server – it is a platform with multiple components that work together. This guide covers how to connect external components (resolver nodes, runner agents, code generators) and integrate Mockarty into your development workflow (CI/CD, MCP for AI tools, webhooks, monitoring).
New to Mockarty? Start with the Quick Start Guide to get a single instance running. Come back here when you need to scale or automate.
Tip: Code examples are available for cURL, CLI, and SDK clients (Go, Python, Java). See the SDK Guide for installation and setup. See the CLI User Guide for the command-line tool.
About URLs in examples: All examples use
localhost:5770as the default Mockarty address. If your instance runs on a remote server, replacelocalhost:5770with its actual address (e.g.https://mockarty.company.comorhttp://192.168.1.50:5770). See Tips & Useful Features for details.
Table of Contents
- Overview
- Integration Tokens
- Mock Resolver Nodes
- Runner Agents
- Server Generator & API-First Approach
- MCP Server (Model Context Protocol)
- CI/CD Integration
- Webhook Notifications
- Telemetry & Monitoring
- Architecture Diagrams
Overview
Mockarty supports a distributed architecture that allows you to scale mock serving, test execution,
and code generation across multiple nodes. This guide covers how to connect external components
to your Mockarty admin node and adopt an API-first development workflow.
There are three external component types that can connect to Mockarty:
| Component | Purpose | Connection |
|---|---|---|
| Mock Resolver | Handles mock resolution traffic, offloads admin node | gRPC coordinator (port 5773) |
| Runner Agent | Executes API tests and performance tests remotely | gRPC coordinator (port 5773) |
| Server Generator | Generates standalone protocol servers from API specs | HTTP API (admin node) |
All machine-to-machine communication is secured with integration tokens — dedicated
authentication credentials separate from user API tokens.
Integration Tokens
What Are Integration Tokens?
Integration tokens are authentication credentials designed for machine-to-machine communication
between Mockarty nodes. They are distinct from user API tokens:
| Token Type | Prefix | Purpose |
|---|---|---|
| User API token | mk_* |
User automation, CI/CD, REST API calls |
| Integration token | mki_* |
Node-to-node authentication (resolver, runner, orchestrator) |
Why Two Token Types?
Think of it like access cards in a building: employee badges (mk_*) identify people and let them through the front door (REST API, CI/CD). Machine room keys (mki_*) let servers talk to each other behind the scenes (gRPC coordinator). Keeping them separate means:
- Revoking a user token does not break your resolver/runner infrastructure.
- Revoking an integration token disconnects a specific node without affecting any user.
- Auditing is clearer – you can immediately tell if an action came from a person or a machine.
- Permissions are scoped differently – integration tokens only grant node-specific operations (register, heartbeat, receive tasks), while user tokens grant API access.
Integration tokens are hashed before storage – Mockarty never stores the plaintext
token. The token is displayed only once at creation time. Copy it immediately.
Creating Integration Tokens
Via the UI
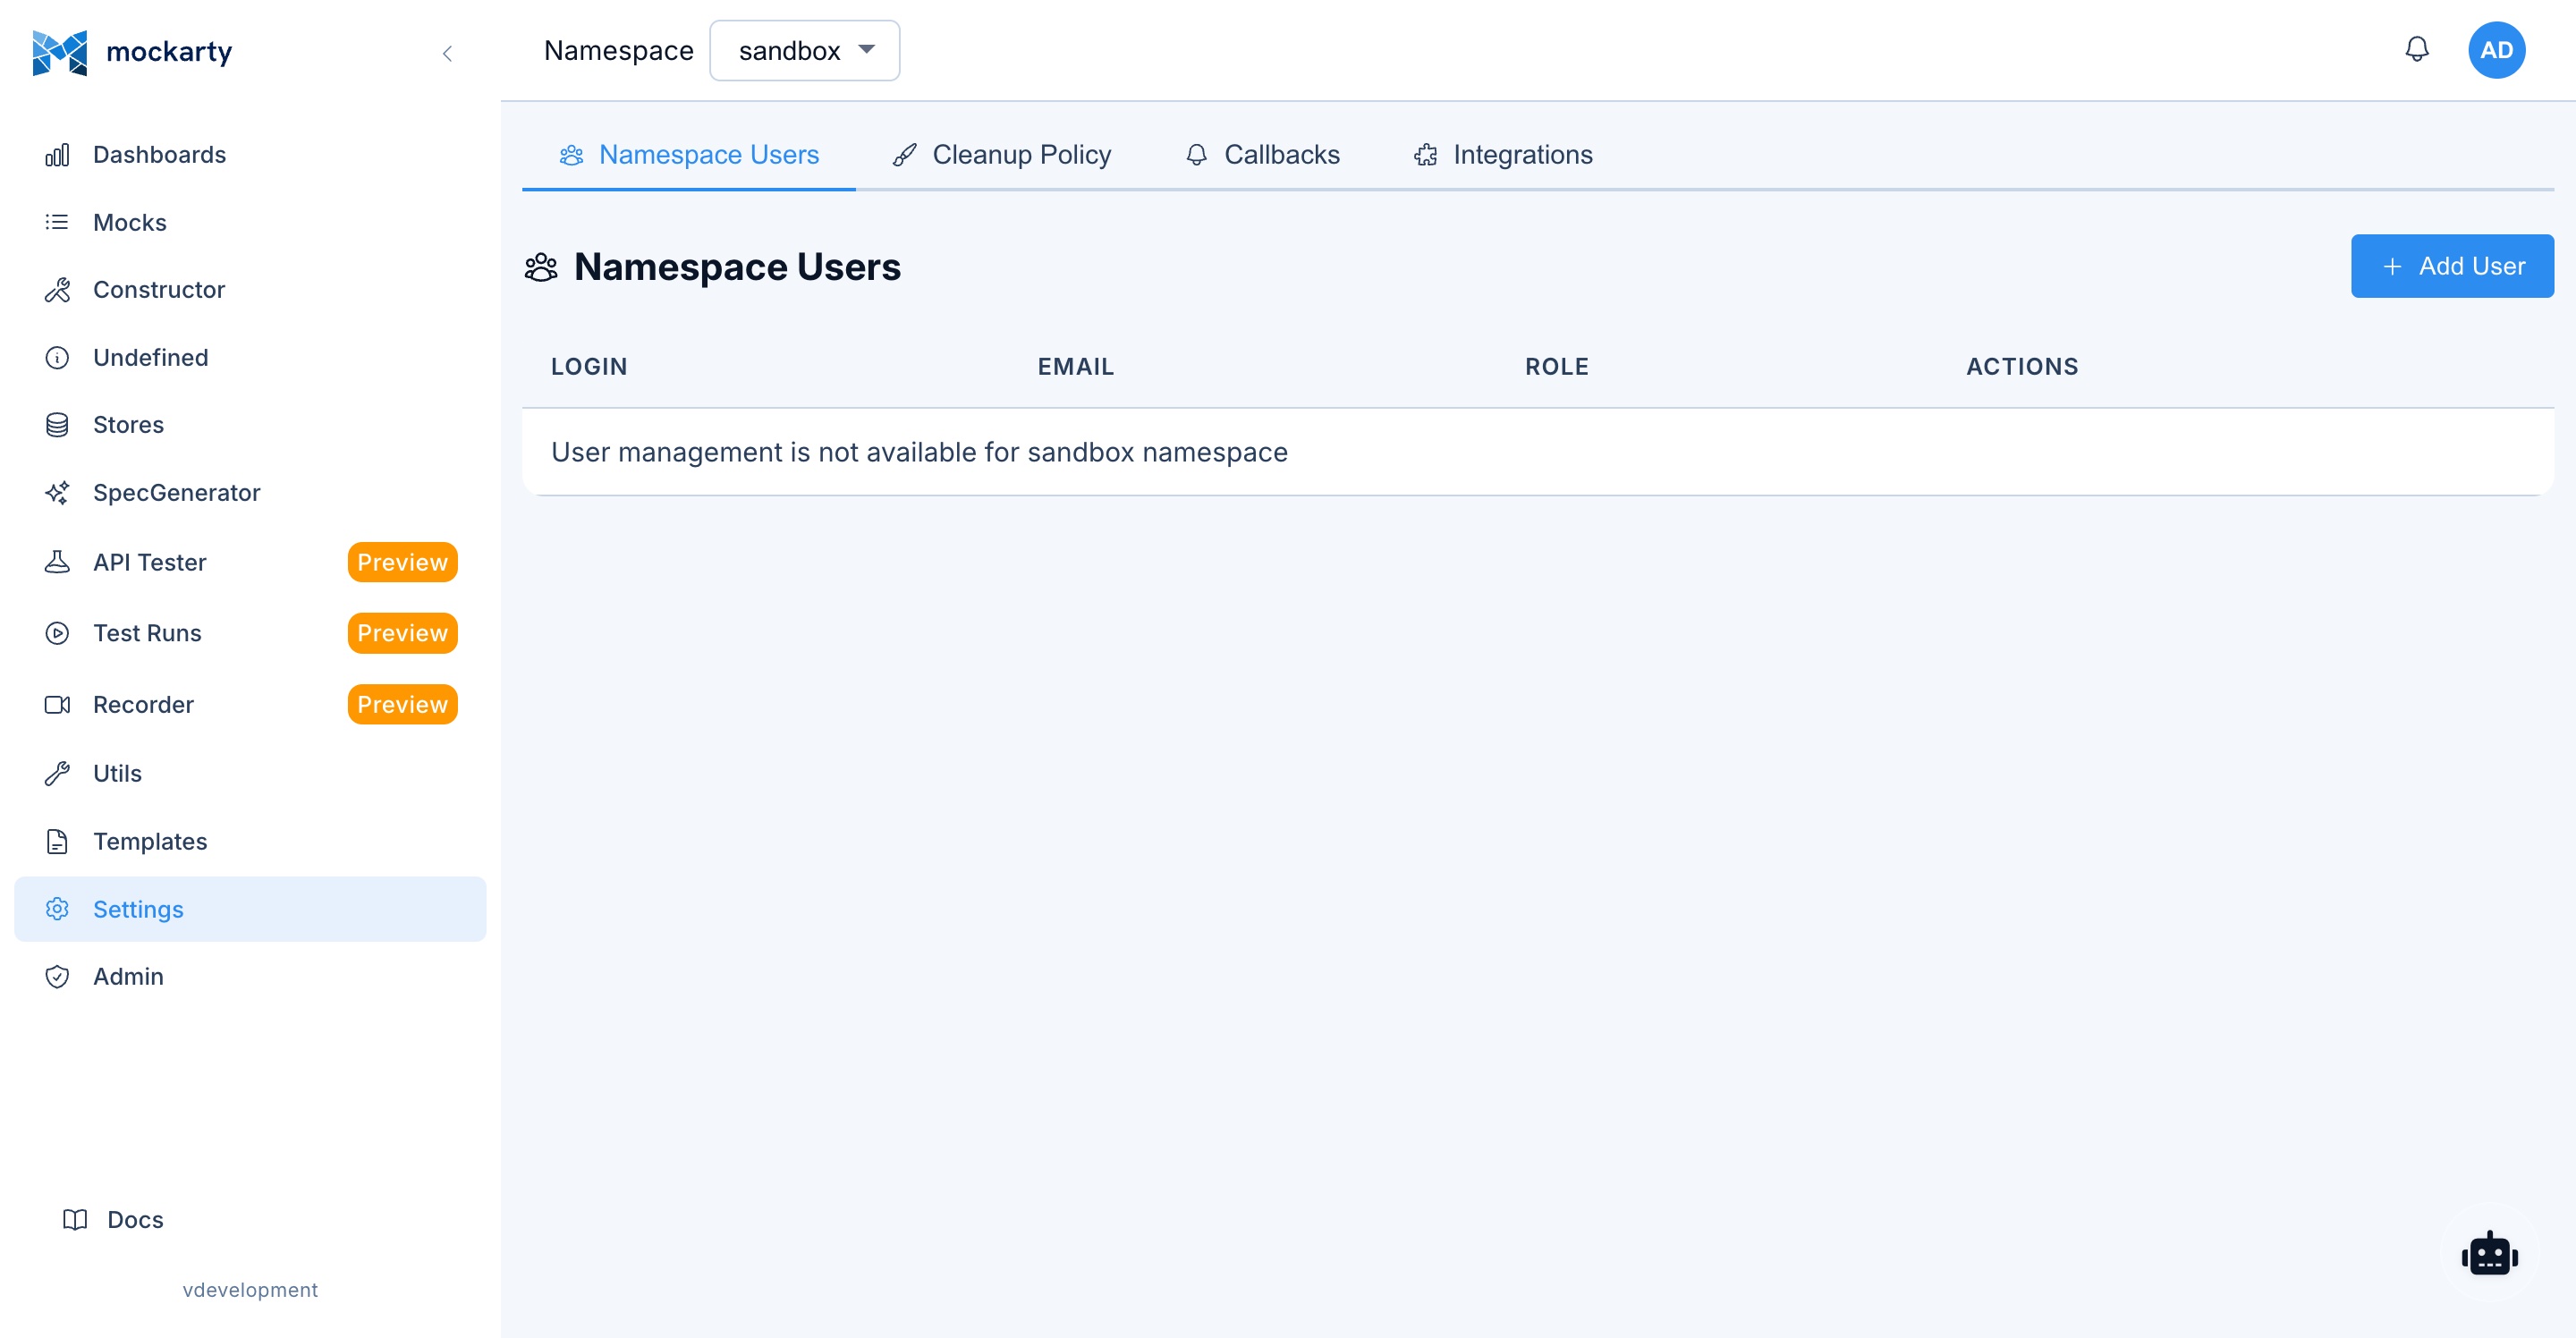
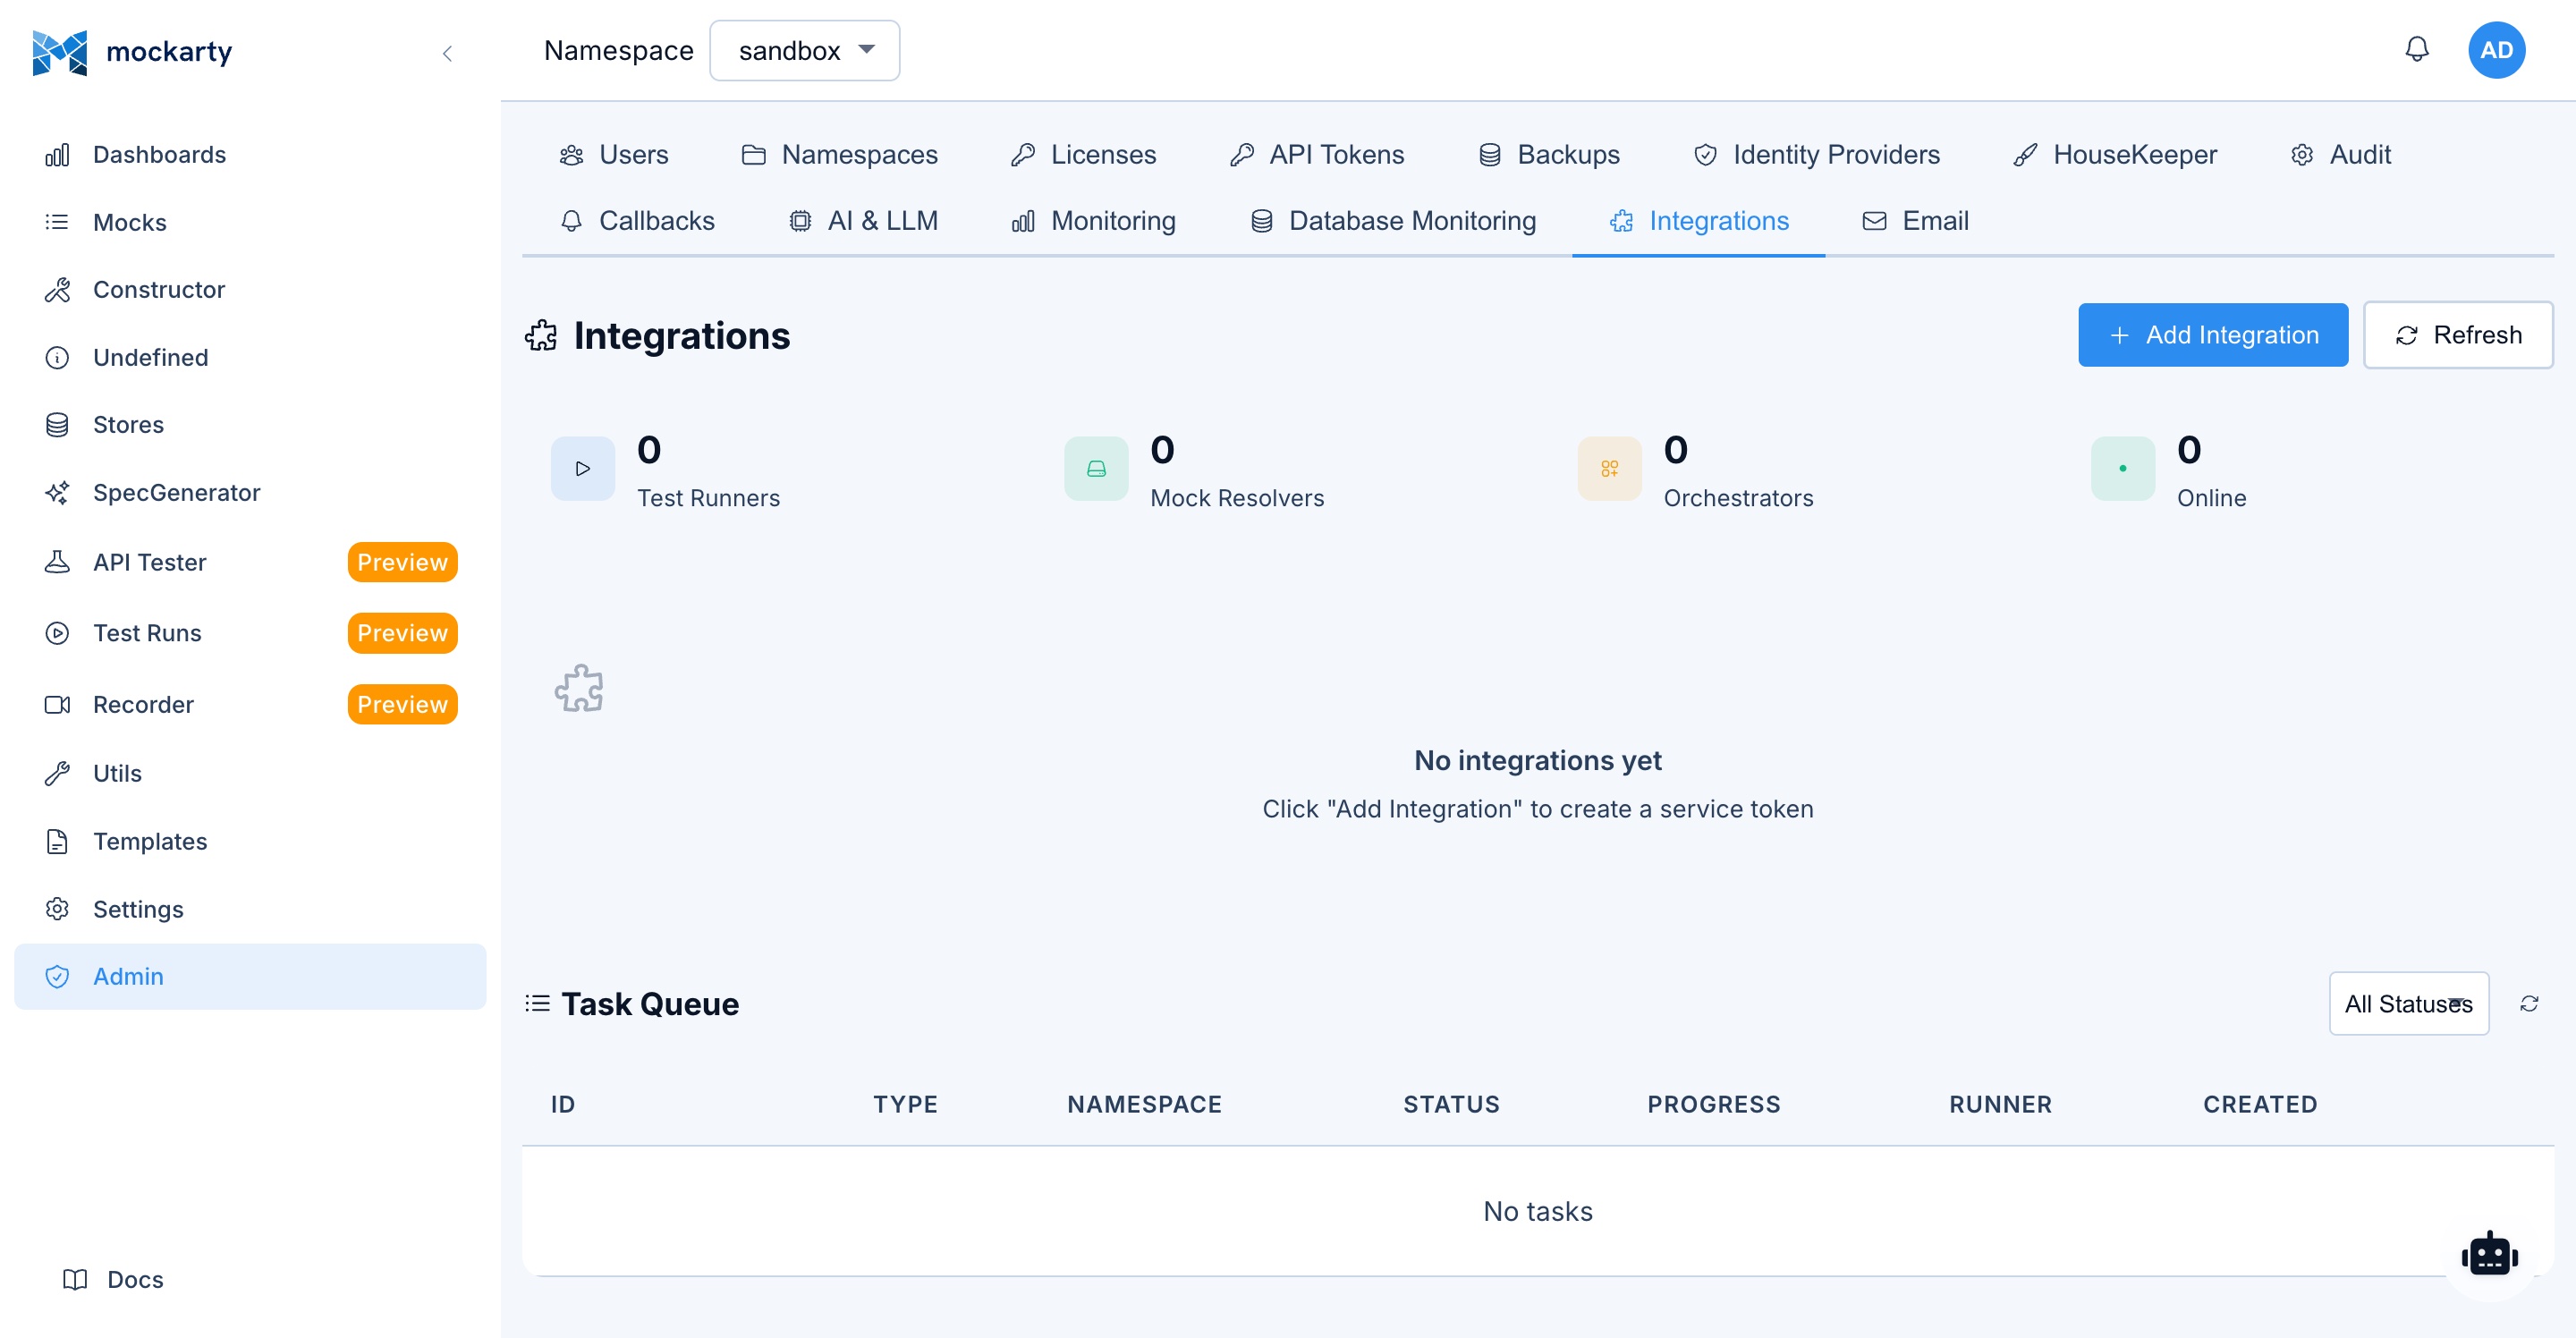
- Navigate to Settings > Integrations
- Click Create Integration
- Select the token type:
mock_resolver— for Mock Resolver nodestest_runner— for Runner Agent nodesorchestrator— for Server Generator orchestrator
- Enter a descriptive name (e.g.,
resolver-eu-west-1,runner-ci-pipeline) - Click Create
- Copy the token from the confirmation dialog
Via the API
cURL
curl -X POST http://localhost:5770/api/v1/integrations \
  -H "Content-Type: application/json" \
  -H "Authorization: Bearer mk_your_admin_api_token" \
  -d '{
    "name": "resolver-prod-1",
    "type": "mock_resolver"
  }'
Integration tokens are an admin concern, so they are managed through the
Admin UI and the REST API (above) — not the language SDKs or the CLI, which are
scoped to CI/CD and test workflows.
Response:
{
  "integration": {
    "id": "a1b2c3d4-e5f6-7890-abcd-ef1234567890",
    "name": "resolver-prod-1",
    "type": "mock_resolver",
    "enabled": true,
    "createdAt": "2026-03-13T10:00:00Z"
  },
  "token": "mki_abc123def456..."
}
Important: The
tokenfield is returned only in the creation response. Store it securely.
Token Types
mock_resolver — Grants the node permission to:
- Receive mock configurations from the admin node
- Resolve incoming mock requests
- Report health status back to the coordinator
test_runner — Grants the node permission to:
- Receive API test and performance test tasks
- Report test results back to the admin node
- Access mock definitions needed for test execution
orchestrator — Grants the node permission to:
- Access the Server Generator orchestrator API
- Create and manage generated servers
- Sync mock definitions for generated servers
Revoking Tokens
To revoke an integration token:
- Navigate to Settings > Integrations
- Find the integration in the list
- Click Disable to temporarily suspend, or Delete to permanently revoke
Via API:
# Revoke (soft — node stops receiving tasks at next heartbeat)
curl -X POST http://localhost:5770/api/v1/integrations/INTEGRATION_ID/revoke \
  -H "Authorization: Bearer mk_your_admin_api_token"

# Delete (permanent)
curl -X DELETE http://localhost:5770/api/v1/integrations/INTEGRATION_ID \
  -H "Authorization: Bearer mk_your_admin_api_token"
When a token is revoked, the corresponding node loses connectivity and stops receiving updates
at the next heartbeat cycle (typically within 30 seconds).
Mock Resolver Nodes
Purpose
Analogy: Think of the Admin Node as a restaurant manager and Mock Resolvers as waiters. The manager handles reservations, menu changes, and staff (admin tasks). The waiters handle the actual customer orders (mock requests). Adding more waiters lets you serve more customers without overloading the manager.
Mock Resolver nodes handle mock resolution traffic – the actual serving of mock responses to
your applications and tests. By offloading resolution to dedicated nodes, you keep the admin
node focused on UI, configuration, and coordination tasks.
Architecture
Your App/Tests ──HTTP──▶ Mock Resolver :5780
                              │
                         gRPC :5773
                              │
                              ▼
                        Admin Node :5770
The resolver connects to the admin node via the gRPC coordinator on port 5773. It receives
mock configurations and caches them locally for fast resolution. Updates are pushed from the
admin node in real time.
When to Use
- High mock traffic: resolver nodes can be scaled horizontally
- Separation of concerns: keep admin UI and mock serving on different nodes
- Network isolation: place resolvers closer to your test infrastructure
- High availability: multiple resolvers provide redundancy
Setup
Step 1: Create an Integration Token
Create a token of type mock_resolver (see Integration Tokens).
Step 2: Download the Binary
Download the mockarty-resolver binary for your platform from the Mockarty releases page.
Step 3: Configure Environment Variables
Core connection:
| Variable | Required | Default | Description |
|---|---|---|---|
COORDINATOR_ADDR |
Yes | — | Address of the admin node gRPC coordinator (e.g., admin-host:5773) |
API_TOKEN |
Yes | — | Integration token (mki_*) of type mock_resolver |
DB_DSN |
Yes | — | PostgreSQL connection string (e.g., postgres://user:pass@host:5432/mockarty?sslmode=disable) |
Identity and scope:
| Variable | Required | Default | Description |
|---|---|---|---|
RESOLVER_NAME |
No | mockarty-resolver |
Human-readable name for this resolver |
SHARED |
No | true |
If true, resolver serves mocks from ALL namespaces; if false, only the namespace defined in NAMESPACE |
NAMESPACE |
When SHARED=false |
— | Namespace this resolver serves (required when SHARED=false, ignored otherwise) |
LABELS |
No | — | Comma-separated labels used by the coordinator for targeted routing (e.g., region=eu,tier=premium) |
Network:
| Variable | Required | Default | Description |
|---|---|---|---|
HTTP_PORT |
No | 5780 |
Port for serving mock responses |
GRPC_PORT |
No | 4780 |
Port for serving gRPC mocks |
BIND_ADDR |
No | 0.0.0.0 |
Network interface to bind to |
Cache and store behavior:
| Variable | Required | Default | Description |
|---|---|---|---|
CACHE_MAX_SIZE_MB |
No | 512 |
Maximum size (MB) of the in-memory mock cache |
RESPONSE_CACHE_TTL |
No | 0 |
TTL for cached responses (0 disables response caching) |
RESPONSE_CACHE_MAX_SIZE_MB |
No | 128 |
Maximum size (MB) for the cached response body storage |
CACHE_SYNC_INTERVAL |
No | 60s |
How often the resolver reconciles local cache with the coordinator |
STORE_MODE |
No | read_only |
Store access mode: read_only (default, recommended) or local_write (writes stay local to this resolver) |
WEBHOOK_POOL_SIZE |
No | 10 |
Size of the outbound webhook worker pool |
ALLOW_PROXY_TO_PRIVATE_IPS |
No | false |
If false, outbound proxy calls to private/loopback/metadata IPs are blocked (SSRF guard) |
Coordinator timing:
| Variable | Required | Default | Description |
|---|---|---|---|
HEARTBEAT_INTERVAL |
No | 10s |
Heartbeat interval sent to the coordinator |
RECONNECT_DELAY |
No | 5s |
Initial delay before reconnecting after a broken coordinator stream |
MAX_RECONNECT_DELAY |
No | 60s |
Maximum backoff delay between reconnect attempts |
Dashboard:
| Variable | Required | Default | Description |
|---|---|---|---|
UI_ENABLED |
No | true |
Enable the built-in dashboard UI |
UI_PORT |
No | 6780 |
Port for the resolver dashboard |
DASHBOARD_URL |
No | auto-detected | Public URL of this resolver’s dashboard. Sent to the coordinator so admins can open it from the admin UI. Auto-detected from the outbound IP when empty |
TLS to coordinator (optional):
| Variable | Required | Default | Description |
|---|---|---|---|
COORDINATOR_TLS |
No | false |
Enable TLS for the gRPC connection to the coordinator |
COORDINATOR_TLS_CA_CERT |
No | — | Path to the CA certificate used to verify the coordinator |
COORDINATOR_TLS_CLIENT_CERT |
No | — | Client certificate for mTLS (must be set together with the key) |
COORDINATOR_TLS_CLIENT_KEY |
No | — | Client private key for mTLS (must be set together with the cert) |
COORDINATOR_TLS_INSECURE_SKIP_VERIFY |
No | false |
Disables coordinator certificate verification. For dev/evaluation only — NEVER enable in production |
Logging:
| Variable | Required | Default | Description |
|---|---|---|---|
LOG_LEVEL |
No | info |
Logging level (debug, info, warn, error) |
Startup validation. The resolver refuses to boot if TLS options are inconsistent (e.g.,
COORDINATOR_TLS_INSECURE_SKIP_VERIFY=truewithoutCOORDINATOR_TLS=true, or mTLS client cert set without the matching key). This is intentional — silent fallback to plaintext or weaker TLS would hide operator mistakes.
Step 4: Run
export COORDINATOR_ADDR="admin.example.com:5773"
export API_TOKEN="mki_your_resolver_token"
export RESOLVER_NAME="resolver-1"
export HTTP_PORT="5780"

./mockarty-resolver
The resolver will connect to the coordinator, download current mock configurations, and begin
serving mock responses.
Routing Traffic
Once the resolver is running, direct your mock traffic to it instead of the admin node:
| Traffic Type | Target |
|---|---|
| Mock requests (HTTP, gRPC, etc.) | Resolver node (port 5780) |
| Admin UI, API, configuration | Admin node (port 5770) |
Example — point your tests at the resolver:
# Before (directly to admin)
curl http://admin:5770/api/users/123

# After (to resolver)
curl http://resolver-1:5780/api/users/123
Multiple Resolvers
You can run multiple resolver nodes and load-balance across them:
# Resolver 1
COORDINATOR_ADDR="admin:5773" API_TOKEN="mki_token1" RESOLVER_NAME="resolver-1" HTTP_PORT=5780 ./mockarty-resolver

# Resolver 2
COORDINATOR_ADDR="admin:5773" API_TOKEN="mki_token2" RESOLVER_NAME="resolver-2" HTTP_PORT=5781 ./mockarty-resolver
Place an HTTP load balancer (nginx, HAProxy, cloud LB) in front of them for even distribution.
Health Check
Each resolver exposes a health endpoint:
curl http://resolver-1:5780/health
Use this for load balancer health checks and monitoring.
Dashboard
Each resolver node runs a lightweight dashboard showing connection status, resolved mock counts,
and performance metrics:
http://resolver-1:6780/
Docker Example
docker run -d \
  --name mockarty-resolver \
  -e COORDINATOR_ADDR="admin-host:5773" \
  -e API_TOKEN="mki_your_resolver_token" \
  -e RESOLVER_NAME="resolver-docker" \
  -e HTTP_PORT="5780" \
  -p 5780:5780 \
  -p 6780:6780 \
  mockarty/resolver:latest
Runner Agents
Purpose
Runner Agents execute API test collections and performance/load tests remotely. By offloading
test execution to dedicated runner nodes, heavy load tests do not impact the admin node’s
performance.
Architecture
Admin Node :5770
     │
gRPC :5773  (coordinator dispatches tasks)
     │
     ▼
Runner Agent :6770  (executes tests, reports results)
The runner connects to the admin node via the gRPC coordinator. When a user triggers a test
run or performance test, the coordinator dispatches the task to an available runner. Results
are streamed back to the admin node.
When to Use
- Load testing: performance tests generate significant traffic — run them on dedicated nodes
- Distributed testing: run tests from different network locations or regions
- Parallel execution: multiple runners can execute tasks concurrently
- Resource isolation: keep test execution separate from admin operations
Setup
Step 1: Create an Integration Token
Create a token of type test_runner (see Integration Tokens).
Step 2: Download the Binary
Download the mockarty-runner binary for your platform from the Mockarty releases page.
Step 3: Configure Environment Variables
The runner supports three connection modes — choose one and set the corresponding address variable:
| Mode | RUNNER_MODE |
Address variable | When to use |
|---|---|---|---|
| gRPC push (default) | grpc |
COORDINATOR_ADDR=host:5773 |
Runner opens an outbound gRPC stream to the coordinator. Most efficient, lowest latency. Use whenever the runner can dial the admin node directly |
| HTTP long-poll | poll |
COORDINATOR_URL=http://host:5770 |
Runner polls the admin node over HTTPS. Use when gRPC is blocked by a proxy/firewall or when only port 5770 is reachable |
| Reverse HTTP | grpc + exposed RUNNER_PORT |
COORDINATOR_ADDR=host:5773 |
Runner listens on RUNNER_PORT and the admin node dials the runner. Use when the runner sits behind a firewall and the admin must initiate the connection |
Core connection:
| Variable | Required | Default | Description |
|---|---|---|---|
RUNNER_MODE |
No | grpc |
Connection mode: grpc (push) or poll (HTTP long-polling) |
COORDINATOR_ADDR |
Required for grpc mode |
— | Address of the admin node gRPC coordinator (e.g., admin-host:5773) |
COORDINATOR_URL |
Required for poll mode |
— | HTTP(S) URL of the admin node (e.g., https://admin.example.com:5770) |
API_TOKEN |
Yes | — | Integration token (mki_*) of type test_runner |
RUNNER_PORT |
No | 6780 |
Port the runner listens on in reverse HTTP mode |
Identity and scope:
| Variable | Required | Default | Description |
|---|---|---|---|
RUNNER_NAME |
No | mockarty-runner |
Human-readable name for this runner |
SHARED |
No | true |
If true, runner receives tasks from ALL namespaces |
NAMESPACE |
When SHARED=false |
— | Namespace this runner serves (required when SHARED=false, ignored if SHARED=true) |
LABELS |
No | — | Comma-separated labels used by the coordinator for targeted routing (e.g., region=eu,zone=dmz) |
Capabilities and capacity:
| Variable | Required | Default | Description |
|---|---|---|---|
CAPABILITIES |
No | api_test,performance |
Comma-separated capabilities: api_test, performance |
MAX_CONCURRENT_TASKS |
No | 3 |
Maximum concurrent task executions |
PERF_ENABLED |
No | true |
Enable the performance engine (set false to disable load testing on this runner) |
Timing:
| Variable | Required | Default | Description |
|---|---|---|---|
HEARTBEAT_INTERVAL |
No | 10s |
Heartbeat interval sent to the coordinator |
RECONNECT_DELAY |
No | 5s |
Initial delay before reconnecting after a broken stream |
MAX_RECONNECT_DELAY |
No | 60s |
Maximum backoff delay between reconnect attempts |
DRAIN_TIMEOUT |
No | 30s |
Maximum time to wait for in-flight tasks to finish during graceful shutdown |
Security:
| Variable | Required | Default | Description |
|---|---|---|---|
ALLOW_PROXY_TO_PRIVATE_IPS |
No | false |
If false, runner-originated HTTP requests to private/loopback/metadata IPs are blocked (SSRF guard) |
Dashboard:
| Variable | Required | Default | Description |
|---|---|---|---|
UI_ENABLED |
No | true |
Enable the built-in dashboard UI |
UI_PORT |
No | 6770 |
Port for the runner dashboard |
DASHBOARD_URL |
No | auto-detected | Public URL of this runner’s dashboard. Sent to the coordinator so admins can open it from the admin UI |
TLS to coordinator (optional):
| Variable | Required | Default | Description |
|---|---|---|---|
COORDINATOR_TLS |
No | false |
Enable TLS for the gRPC/HTTP connection to the coordinator |
COORDINATOR_TLS_CA_CERT |
No | — | Path to the CA certificate used to verify the coordinator |
COORDINATOR_TLS_CLIENT_CERT |
No | — | Client certificate for mTLS (must be set together with the key) |
COORDINATOR_TLS_CLIENT_KEY |
No | — | Client private key for mTLS (must be set together with the cert) |
COORDINATOR_TLS_INSECURE_SKIP_VERIFY |
No | false |
Disables coordinator certificate verification. For dev/evaluation only — NEVER enable in production |
Logging:
| Variable | Required | Default | Description |
|---|---|---|---|
LOG_LEVEL |
No | info |
Logging level (debug, info, warn, error) |
Startup validation. Same TLS invariants apply to the runner: inconsistent TLS options fail boot rather than silently degrading.
Step 4: Run
export COORDINATOR_ADDR="admin.example.com:5773"
export API_TOKEN="mki_your_runner_token"
export RUNNER_NAME="runner-1"
export SHARED="true"
export CAPABILITIES="api_test,performance"
export MAX_CONCURRENT_TASKS="10"

./mockarty-runner
Scope: Shared vs. Namespace Runners
Shared runners (SHARED=true):
- Receive tasks from all namespaces
- Ideal for general-purpose test infrastructure
- Typically deployed by platform/DevOps teams
Namespace runners (SHARED=false, NAMESPACE=team-backend):
- Receive tasks only from their assigned namespace
- Ideal for team-specific infrastructure
- Can be deployed closer to team resources
Example configuration:
# Shared runner — handles all namespaces
SHARED=true CAPABILITIES="api_test,performance" ./mockarty-runner

# Team-specific runner — only "payments" namespace
SHARED=false NAMESPACE="payments" CAPABILITIES="api_test" ./mockarty-runner
Capabilities
Capabilities determine what task types a runner can accept:
| Capability | Task Types |
|---|---|
api_test |
API test collection runs, scheduled test executions |
performance |
Load tests, stress tests, performance benchmarks |
A runner can have multiple capabilities:
CAPABILITIES="api_test,performance"
If a runner only has api_test, it will never receive performance test tasks, and vice versa.
Runner Labels
Labels are free-form tags you attach to a runner integration so a Test Plan, Schedule,
Load Test, Fuzz, or Chaos config can target a specific subset of runners — for example
prod, staging, linux, arm64, gpu.
Labels are opt-in. When a run does not request any labels, runner selection works
exactly as before (capacity, capability, namespace priority, least-loaded). When a run
specifies one or more required labels, only runners whose label set is a superset
of the requirement are considered.
Set labels on an integration
In the UI, open Settings → Integrations, expand the runner card, and click the
Edit labels button to open the chip-input editor. The editor autocompletes from
labels already in use within the visible namespace.
Via the API:
curl -X PATCH https://mockarty.example/api/v1/integrations/<id>/labels \
  -H "Authorization: Bearer mk_<your_token>" \
  -H "Content-Type: application/json" \
  -d '{"labels": ["prod", "linux", "arm64"]}'
Labels are normalised to lower-case and may contain only a-z, 0-9, ., -, _,
up to 64 characters each.
Discover labels in a namespace
The autocomplete pickers call this endpoint, but you can use it from any script:
curl https://mockarty.example/api/v1/runners/labels?namespace=team-backend \
  -H "Authorization: Bearer mk_<your_token>"
Returns the deduplicated, sorted set of labels visible to that namespace
(own + shared/admin-scoped runners).
Require labels on a run
Add a requiredRunnerLabels field to the request body. Examples:
Performance run:
curl -X POST https://mockarty.example/api/v1/perf/run \
  -H "Authorization: Bearer mk_<your_token>" \
  -H "Content-Type: application/json" \
  -d '{
    "configId": "<perf-config-id>",
    "requiredRunnerLabels": ["prod", "arm64"]
  }'
Fuzz run:
curl -X POST https://mockarty.example/api/v1/fuzzing/run \
  -H "Authorization: Bearer mk_<your_token>" \
  -H "Content-Type: application/json" \
  -d '{
    "configId": "<fuzz-config-id>",
    "requiredRunnerLabels": ["staging"]
  }'
Test Plan (persisted on the plan, applied to every dispatched item):
curl -X POST https://mockarty.example/api/v1/test-plans \
  -H "Authorization: Bearer mk_<your_token>" \
  -H "Content-Type: application/json" \
  -d '{
    "namespace": "team-backend",
    "name": "Nightly regression",
    "items": [...],
    "requiredRunnerLabels": ["prod"]
  }'
Advanced — label expression DSL
For OR, NOT, parentheses or regex matches, pass runnerLabelExpr instead of (or
in addition to) requiredRunnerLabels. The two fields are AND-combined.
# Perf run on Linux + (GPU or TPU), excluding the staging fleet:
curl -X POST https://mockarty.example/api/v1/perf/run \
  -H "Authorization: Bearer mk_<your_token>" \
  -H "Content-Type: application/json" \
  -d '{
    "configId": "<perf-config-id>",
    "runnerLabelExpr": "linux & (gpu | tpu) & !staging"
  }'

# Fuzz run on any perf-* runner that's also tagged ci:
curl -X POST https://mockarty.example/api/v1/fuzzing/run \
  -H "Authorization: Bearer mk_<your_token>" \
  -H "Content-Type: application/json" \
  -d '{
    "configId": "<fuzz-config-id>",
    "runnerLabelExpr": "/^perf-.*/i & ci"
  }'
A Test Plan item can also carry its own runnerLabelExpr so different items
target different runner cohorts within the same plan. Full grammar, limits and
the live-validation endpoint are documented in
Runner Labels and Targeting.
Behaviour when no runner matches
When requiredRunnerLabels is non-empty and no available runner satisfies the set,
the task fails with a clear message instead of falling back to local execution:
no available runner with required labels [prod arm64]
(capacity, capability, or labels do not match)
A short grace period (5 minutes from task creation) lets a matching runner come online
before the task is marked failed.
Multiple Runners
You can run multiple runner agents. The coordinator distributes tasks automatically based on
availability and capabilities:
# Runner 1 — API tests only
RUNNER_NAME="runner-api-1" CAPABILITIES="api_test" UI_PORT=6770 ./mockarty-runner

# Runner 2 — Performance tests only
RUNNER_NAME="runner-perf-1" CAPABILITIES="performance" UI_PORT=6771 ./mockarty-runner

# Runner 3 — Both
RUNNER_NAME="runner-all-1" CAPABILITIES="api_test,performance" UI_PORT=6772 ./mockarty-runner
Note: If running multiple runners on the same host, assign different
UI_PORTvalues
to avoid port conflicts.
Dashboard
Each runner provides a dashboard showing task status, execution history, and resource usage:
http://runner-1:6770/
Docker Example
docker run -d \
  --name mockarty-runner \
  -e COORDINATOR_ADDR="admin-host:5773" \
  -e API_TOKEN="mki_your_runner_token" \
  -e RUNNER_NAME="runner-docker" \
  -e SHARED="true" \
  -e CAPABILITIES="api_test,performance" \
  -e MAX_CONCURRENT_TASKS="10" \
  -p 6770:6770 \
  mockarty/runner:latest
Server Generator & API-First Approach
What Is the Server Generator?
The mockarty-server-generator is a standalone binary that generates fully functional protocol
servers from API specifications. Generated servers serve mock responses sourced from your
Mockarty instance, enabling an API-first development workflow.
API-First Workflow
The API-first approach lets you define your API contract before writing any implementation code:
- Define your API spec (OpenAPI, .proto, GraphQL schema, etc.)
- Generate a standalone server from the spec using
mockarty-server-generator - Mock responses are automatically created in Mockarty based on the spec
- Develop your client application against the generated server
- Replace the generated server with your real implementation when ready
This workflow enables frontend and backend teams to work in parallel — the frontend team
develops against the generated mock server while the backend team implements the real service.
License Requirement
Server generation requires the mock feature in your Mockarty license.
Check your license status at Settings > License.
Supported Protocols
| Protocol | Input Format | Server Type |
|---|---|---|
| OpenAPI / Swagger | .yaml, .json |
HTTP REST server |
| gRPC | .proto |
gRPC server |
| MCP | .json config |
MCP server (SSE transport) |
| GraphQL | .graphql schema |
GraphQL server |
| SOAP | .wsdl |
SOAP server |
| Kafka | .json config |
Kafka consumer/producer |
| RabbitMQ | .json config |
RabbitMQ consumer/publisher |
| SSE | .json config |
Server-Sent Events server |
| WebSocket | .json config |
WebSocket server |
Three Operating Modes
1. CLI Mode
Generate server code from specs directly on the command line:
# Generate an OpenAPI server
./mockarty-server-generator openapi \
  -input ./api/openapi.yaml \
  -output ./generated-server \
  -create-mocks \
  -mockarty-url http://localhost:5770 \
  -api-token mk_your_token

# Generate a gRPC server
./mockarty-server-generator grpc \
  -input ./proto/service.proto \
  -output ./generated-grpc-server \
  -create-mocks \
  -mockarty-url http://localhost:5770 \
  -api-token mk_your_token
Note: The protocol name (e.g.,
openapi,grpc,mcp,graphql,soap,kafka,rabbitmq,sse,socket) is a positional subcommand, not a flag.
The -create-mocks flag automatically creates mock definitions in Mockarty based on the spec.
2. Orchestrator Mode
Run the server generator as a REST API service for managing generated servers programmatically:
./mockarty-server-generator orchestrator \
  -port 8888 \
  -api-token mk_your_token \
  -mockarty-url http://localhost:5770
The orchestrator exposes endpoints for creating, listing, and managing generated servers.
It requires an API token for authentication.
3. Experimental UI
A web interface for interactive server generation:
./mockarty-server-generator experimental-ui \
  -port 8888 \
  -api-token mk_your_token \
  -mockarty-url http://localhost:5770
Access the UI at http://localhost:8888/ui.
Generated Server Output
The generator produces a standalone Go project with vendored dependencies:
generated-server/
  main.go
  go.mod
  go.sum
  vendor/
    ...
Build and run the generated server:
cd generated-server
go build -mod=vendor -o server .
./server
The generated server is fully self-contained — no external dependency downloads needed at build time.
Generated Server Environment Variables
| Variable | Default | Description |
|---|---|---|
HTTP_ADMIN_BASE_URL |
— | URL of the Mockarty admin node (e.g., http://admin:5770) |
NAMESPACE |
sandbox |
Namespace for mock resolution |
HTTP_PORT |
8080 |
Port for the generated server |
API_TOKEN |
— | API token for authenticating with Mockarty |
Smart Merge
When you re-run the generator with -create-mocks against an existing set of mocks, the
generator performs a smart merge:
- New endpoints are added as new mocks
- Existing mocks are updated (routes, methods) without losing manually added conditions,
store references, or custom response modifications - Deleted endpoints are not automatically removed (manual cleanup required)
This allows you to iterate on your API spec without losing manual mock customizations.
Docker Example (Orchestrator)
docker run -d \
  --name mockarty-server-generator \
  -e API_TOKEN="mk_your_token" \
  -e MOCKARTY_URL="http://admin-host:5770" \
  -p 8888:8888 \
  mockarty/server-generator:latest \
  orchestrator -port 8888
For detailed usage of all server types, input formats, and configuration options, see the
Server Generator Guide.
MCP Server (Model Context Protocol)
What Is the MCP Server?
Mockarty exposes a built-in MCP (Model Context Protocol) server that allows AI agents like Claude Desktop, Cursor, Windsurf, and other MCP-compatible tools to interact with your Mockarty instance directly. The AI agent can create mocks, query stores, run tests, and manage resources through natural language.
MCP Endpoint
The MCP server listens at:
http://localhost:5772/mcp
The port is configured via the MCP_PORT environment variable (default: 5772).
Tool groups — connect to a subset
The unified /mcp endpoint exposes the full catalogue of tools your plan
grants. That is a lot of tools for a model to hold in context at once. If a
client only needs one area — mocking, API testing, performance, test cases — it
can connect to a group sub-endpoint instead and see only that group’s tools
(plus a few always-on orientation helpers such as current_namespace and
search_docs):
http://localhost:5772/mcp/mocker     # mocking tools only
http://localhost:5772/mcp/tester     # API-testing tools only
http://localhost:5772/mcp/perf       # performance / load tools only
http://localhost:5772/mcp/tcm        # test-case management tools only
A narrower surface means cheaper calls and fewer wrong-tool mistakes. Everything
else — authentication, the default-namespace header, sessions — works exactly
the same as the unified endpoint; only the visible tool set is narrowed (never
widened — a group can never reveal a tool your plan doesn’t include).
Discover the available groups, their tool counts for your token, and each
group’s endpoint path from the main Mockarty API (the regular app port, not the
MCP port):
curl -H "X-API-Key: mk_your_token_here" \
  http://localhost:5770/api/v1/mcp/groups
Each entry returns an id, displayName, toolCount, and the endpoint path
(e.g. /mcp/mocker) to point your client at — append it to the MCP server URL.
Use the unified /mcp when you want everything in one connection.
Authentication
The MCP endpoint requires an API token for authentication. Use a user API token (mk_* format) created in Settings > API Tokens.
Authentication is provided via HTTP headers:
X-API-Key: mk_your_token_here
or:
Authorization: Bearer mk_your_token_here
Default Namespace
A user can have access to multiple namespaces. By default, every MCP
tool call has to include a namespace argument, which becomes
repetitive. To save typing, set a default namespace per MCP client via
the optional header:
X-Mockarty-Namespace: your-namespace
Resolution order, highest precedence first:
namespaceargument in the MCP tool call (when the AI agent passes
one explicitly).X-Mockarty-Namespacerequest header (this section — set once in
the client config, used for every tool call).- The API token’s pinned namespace, if the token was issued
namespace-scoped. - The user’s first non-sandbox membership as a final fallback.
The namespace from the header is still subject to the same membership
check that args-supplied namespaces are — a request pointing at a
namespace the user has no access to is denied with permission denied: user does not have access to namespace …. Pinned tokens (option 3) are
the only path that hard-overrides the header to enforce a strict CI/CD
scope.
Connecting Claude Desktop
Add the following to your Claude Desktop configuration file (claude_desktop_config.json):
macOS: ~/Library/Application Support/Claude/claude_desktop_config.json
Windows: %APPDATA%\Claude\claude_desktop_config.json
Linux: ~/.config/claude/claude_desktop_config.json
{
  "mcpServers": {
    "mockarty": {
      "command": "npx",
      "args": [
        "-y",
        "mcp-remote",
        "http://localhost:5772/mcp",
        "--header",
        "X-API-Key: mk_your_token_here"
      ]
    }
  }
}
Replace mk_your_token_here with your actual API token and adjust the URL if your Mockarty instance is on a different host or port.
Connecting Cursor
Cursor has built-in MCP support. Add Mockarty as an MCP server in your Cursor settings:
- Open Cursor Settings → Features → MCP Servers
- Click + Add new MCP server
- Choose Type:
sse(for Streamable HTTP) - Fill in:
- Name:
mockarty - Server URL:
http://localhost:5772/mcp
- Name:
- Click Save
Since Cursor passes headers automatically, you can also configure it via the project-level .cursor/mcp.json file:
{
  "mcpServers": {
    "mockarty": {
      "url": "http://localhost:5772/mcp",
      "headers": {
        "X-API-Key": "mk_your_token_here"
      }
    }
  }
}
Tip: Place
.cursor/mcp.jsonin your project root for per-project configuration, or use~/.cursor/mcp.jsonfor global configuration.
Connecting Claude Code (CLI)
Claude Code supports MCP servers natively. Add Mockarty to your project or global configuration:
Per-project (.claude/settings.json in project root):
{
  "mcpServers": {
    "mockarty": {
      "command": "npx",
      "args": [
        "-y",
        "mcp-remote",
        "http://localhost:5772/mcp",
        "--header",
        "X-API-Key: mk_your_token_here"
      ]
    }
  }
}
Global (~/.claude/settings.json):
{
  "mcpServers": {
    "mockarty": {
      "command": "npx",
      "args": [
        "-y",
        "mcp-remote",
        "http://localhost:5772/mcp",
        "--header",
        "X-API-Key: mk_your_token_here"
      ]
    }
  }
}
After adding, restart Claude Code and verify with /mcp command to see connected servers.
Connecting Windsurf
In Windsurf, navigate to Settings → Cascade → MCP Servers, then add:
{
  "mcpServers": {
    "mockarty": {
      "serverUrl": "http://localhost:5772/mcp",
      "headers": {
        "X-API-Key": "mk_your_token_here"
      }
    }
  }
}
Connecting Other MCP Clients
Any MCP-compatible client can connect using:
| Parameter | Value |
|---|---|
| Transport | Streamable HTTP (recommended) or SSE |
| URL | http://your-mockarty-host:5772/mcp |
| Auth Header | X-API-Key: mk_your_token_here |
| Alt Auth | Authorization: Bearer mk_your_token_here |
Available MCP Tools
Once connected, the AI agent has access to tools for:
- Mock management — List, create, update, and delete mocks across namespaces
- Store operations — Read and write Global Store, Chain Store values
- Template management — List, upload, and apply mock templates
- API testing — List collections, run test suites, view test run results
- Security fuzzing — Start/stop fuzzing sessions, list findings, triage vulnerabilities
- Performance testing — Run load tests, generate k6 scripts, compare results
- Traffic recording — Start/stop recording sessions, list captured requests
- Code generation — Generate mocks from OpenAPI/Swagger specs
- HTTP requests — Make arbitrary HTTP calls to test endpoints or fetch specs
- Utility operations — Convert XML to JSON, encode Base64, validate templates
Creating an API Token for MCP
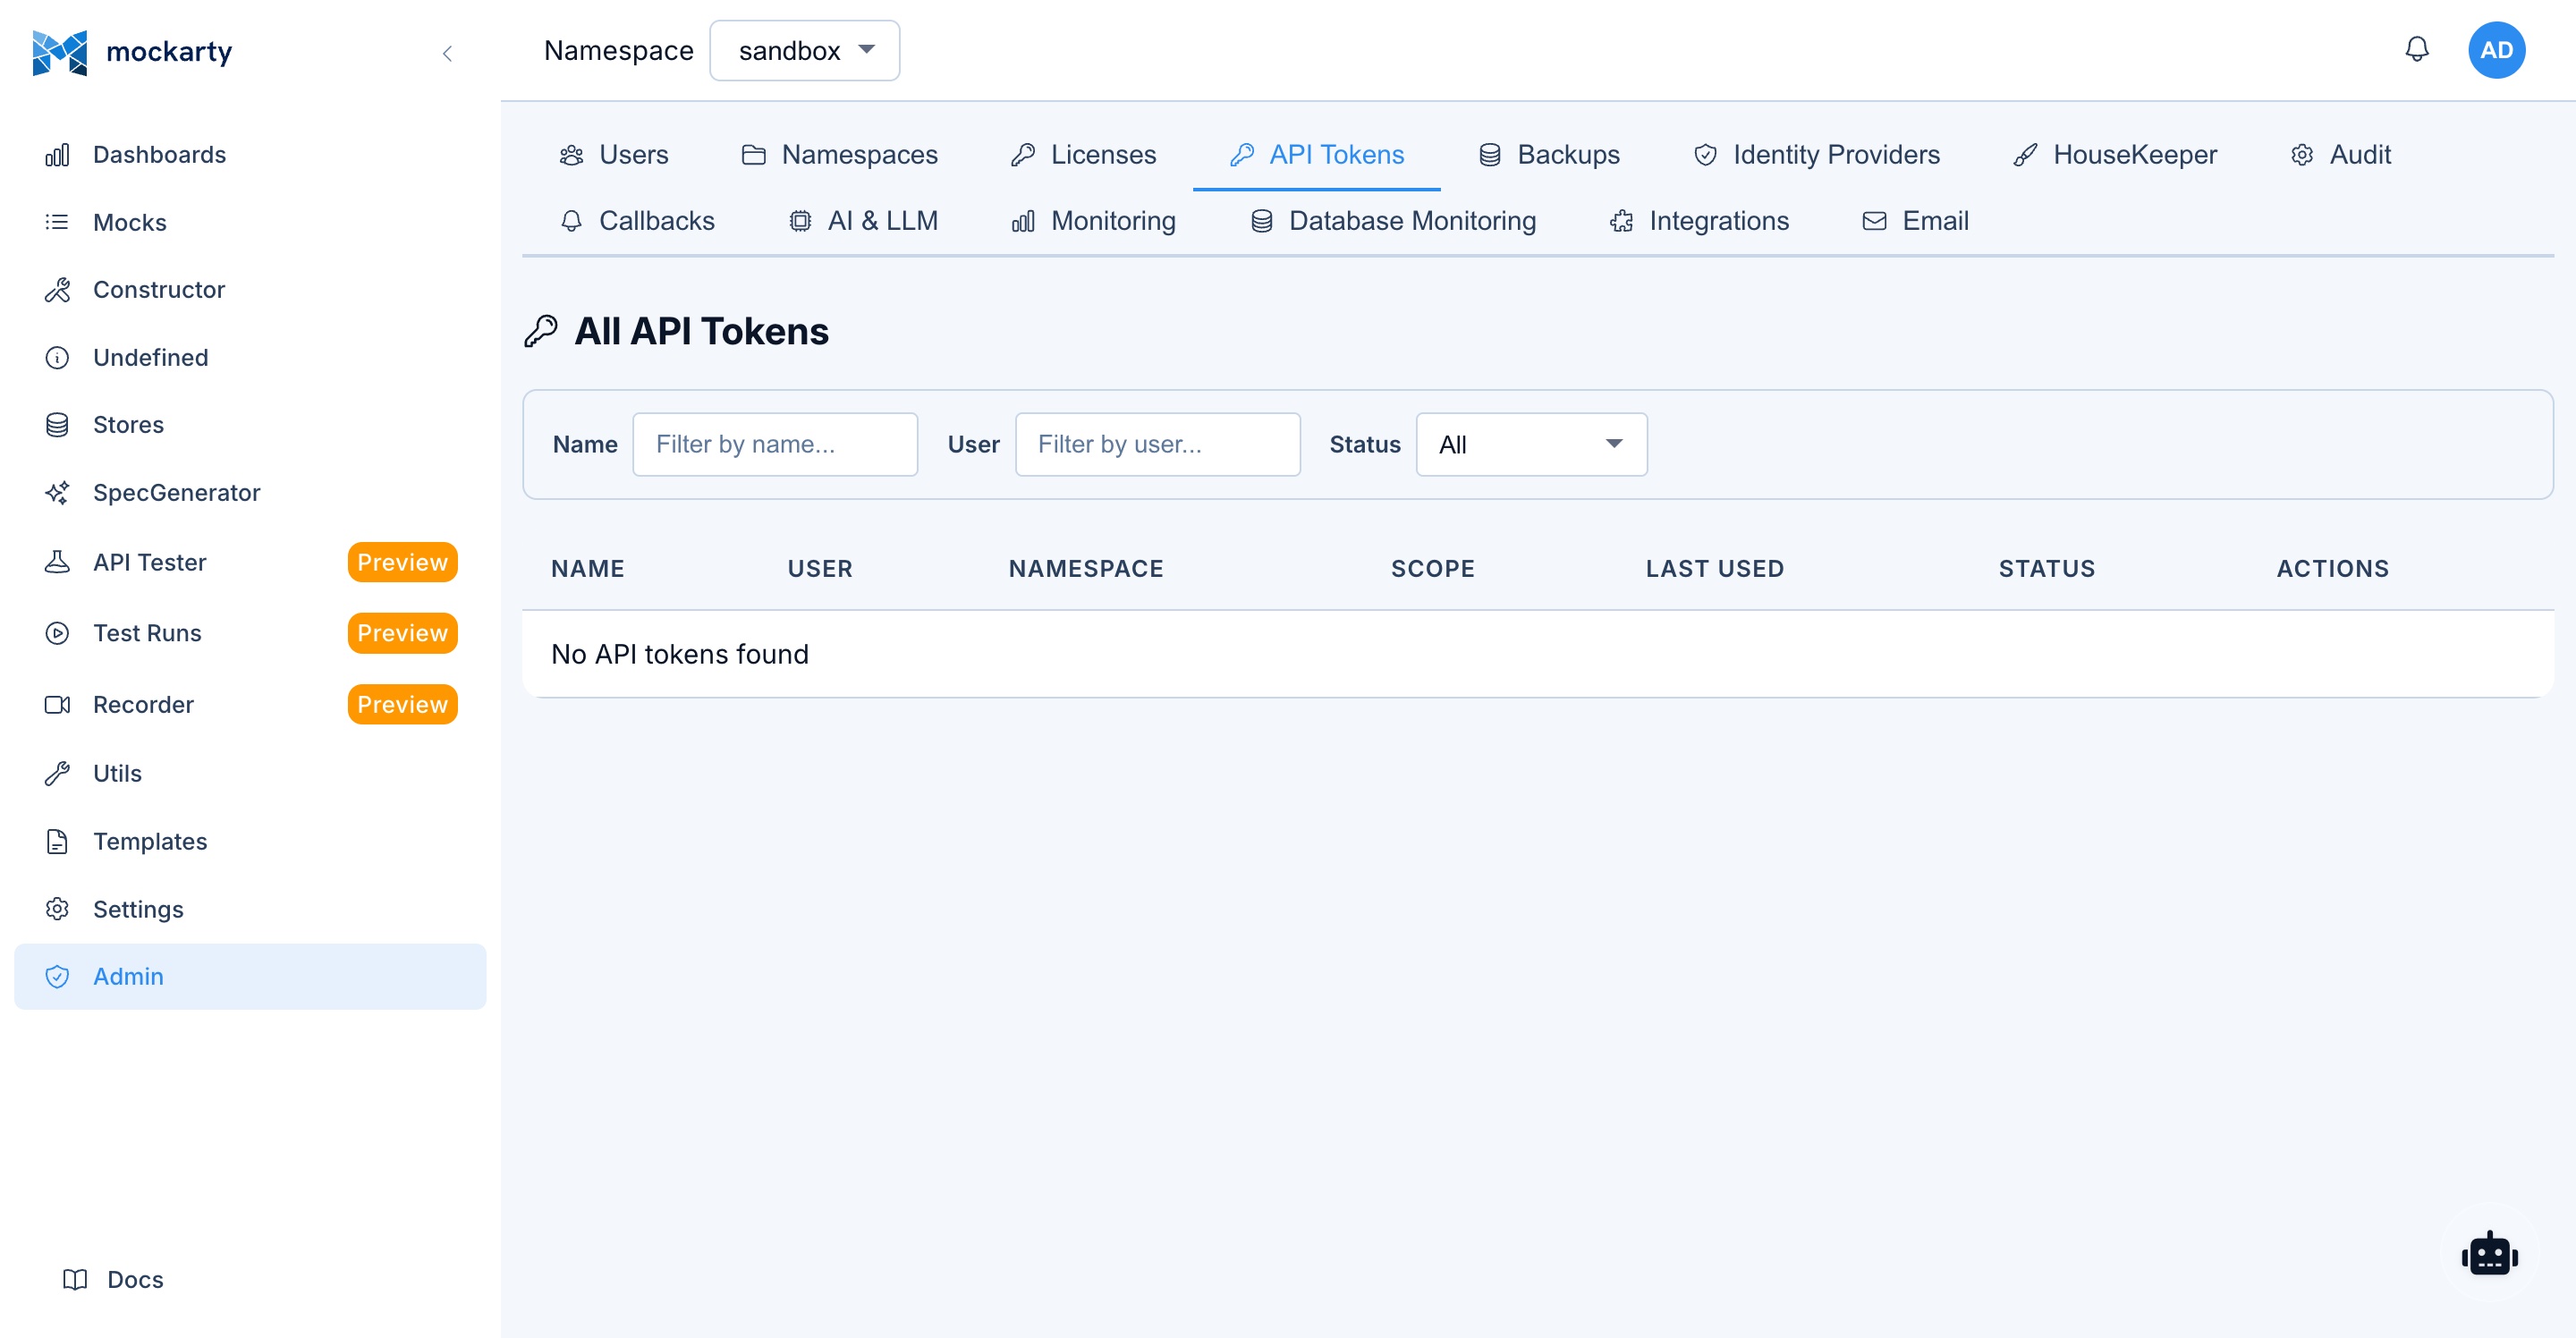
- Navigate to Settings > API Tokens in the Mockarty UI.
- Click Create Token.
- Enter a name (e.g.,
claude-desktop-mcp). - Copy the generated token (starts with
mk_). - Use this token in your MCP client configuration.
Security: API tokens inherit the permissions of the user who created them. For MCP access, ensure the token owner has appropriate namespace roles.
Common Mistakes
- Using an integration token (
mki_*) for MCP. MCP requires a user API token (mk_*). Integration tokens are only for resolver/runner nodes. - Forgetting to restart the MCP client after changing the configuration file. Claude Desktop, Cursor, and Windsurf all require a restart to pick up config changes.
- Wrong URL. If
MCP_PORTis not set, the MCP server runs on port 5772 by default. MCP always runs on its own dedicated port, separate from the main HTTP server. - Firewall blocking the port. Ensure port 5772 (or your configured MCP port) is accessible from the machine running your AI tool.
CI/CD Integration
User API Tokens for Automation
For CI/CD pipelines, use user API tokens (mk_*), not integration tokens.
Create an API token at Settings > API Tokens or via the admin API.
Creating Mocks in CI
Automate mock creation as part of your CI pipeline:
# Create a mock for the users endpoint
curl -X POST http://mockarty:5770/api/v1/mocks \
  -H "Content-Type: application/json" \
  -H "Authorization: Bearer mk_your_ci_token" \
  -d '{
    "id": "ci-users-get",
    "http": {
      "route": "/api/users/list",
      "httpMethod": "GET"
    },
    "response": {
      "statusCode": 200,
      "payload": {
        "id": "$.fake.UUID",
        "name": "$.fake.FirstName",
        "email": "$.fake.Email"
      }
    }
  }'
Running Test Collections
Test execution is triggered through the Runner Agent system (see Runner Agents) or the Web UI (API Tester page). There is no direct REST endpoint for triggering test collection runs — the coordinator dispatches tasks to connected runner agents automatically when a test run is initiated from the UI.
Performance Tests via API
Trigger performance/load tests:
curl -X POST http://mockarty:5770/api/v1/perf/run \
  -H "Content-Type: application/json" \
  -H "Authorization: Bearer mk_your_ci_token" \
  -d '{
    "script": {
      "collectionId": "your-collection-uuid",
      "environmentId": "your-env-uuid"
    },
    "options": {
      "duration": "60s",
      "concurrency": 10
    }
  }'
Importing OpenAPI Specs
Auto-generate mocks from OpenAPI specs in your CI pipeline:
curl -X POST http://mockarty:5770/api/v1/api-tester/import/openapi \
  -H "Authorization: Bearer mk_your_ci_token" \
  -F "file=@./api/openapi.yaml" \
  -F "namespace=ci-tests"
GitHub Actions Example
name: Integration Tests with Mockarty

on: [push, pull_request]

jobs:
  test:
    runs-on: ubuntu-latest
    services:
      mockarty:
        image: mockarty/mockarty:latest
        ports:
          - 5770:5770
        env:
          DB_DSN: "postgres://..."

    steps:
      - uses: actions/checkout@v4

      - name: Wait for Mockarty
        run: |
          for i in $(seq 1 30); do
            curl -s http://localhost:5770/health && break
            sleep 2
          done

      - name: Import OpenAPI Spec
        run: |
          curl -X POST http://localhost:5770/api/v1/api-tester/import/openapi \
            -H "Authorization: Bearer ${{ secrets.MOCKARTY_TOKEN }}" \
            -F "file=@./api/openapi.yaml"

      - name: Run Tests
        run: npm test
        env:
          API_BASE_URL: http://localhost:5770
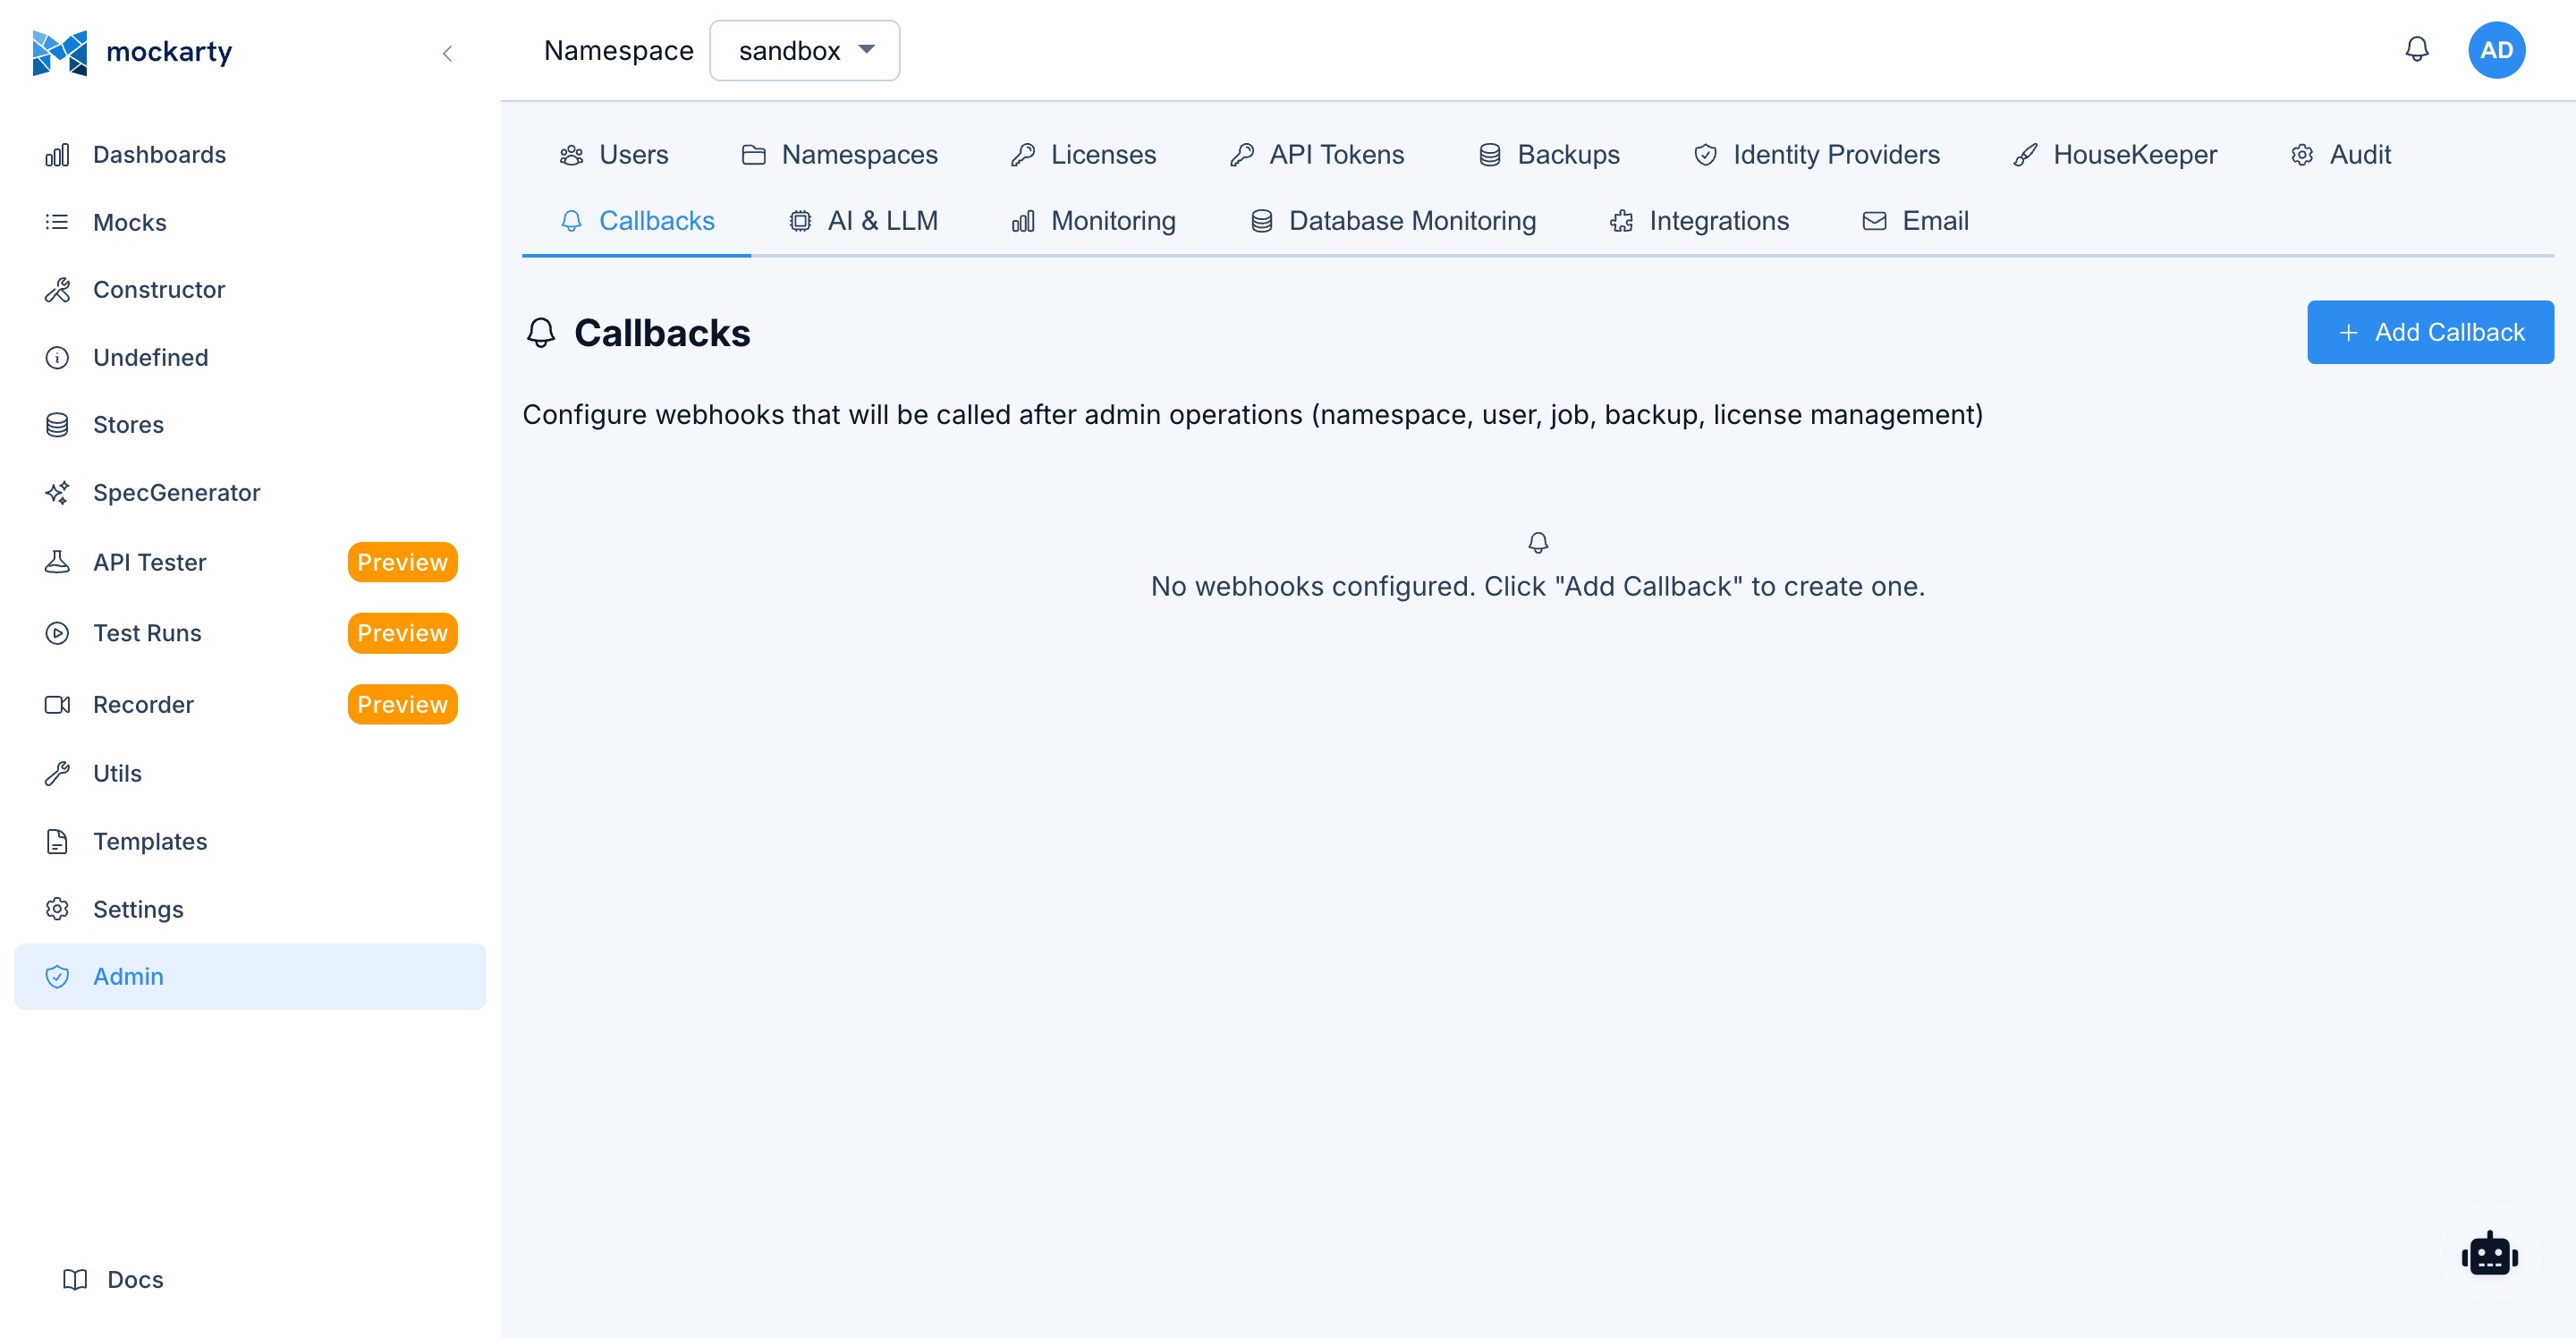
Webhook Notifications
Configuration
Event-level webhook subscriptions are persisted server-side. Each subscription links a user to a URL and a set of event types. Namespace-level CRUD webhooks (fired when mocks are created/updated/deleted) are configured separately at Settings > Webhooks in the admin UI.
Each event webhook subscription requires:
- URL: The endpoint to receive notifications
- Event Types: Which events trigger the webhook (e.g.,
test.run.completed,fuzzing.finding.new) - Secret (optional): Used to sign the payload with HMAC-SHA256 for verification
Event Types
| Event | Description |
|---|---|
agent.task.created |
An agent task was created |
agent.task.completed |
An agent task completed successfully |
agent.task.failed |
An agent task failed |
agent.task.progress |
An agent task reported progress |
test.run.completed |
An API test collection run finished |
perf.test.completed |
A performance test completed |
fuzzing.completed |
A security fuzzing session completed |
fuzzing.finding.new |
A new fuzzing finding was discovered |
system.alert |
A system alert was triggered |
Payload Format
Webhook payloads are JSON:
{
  "id": "event-uuid",
  "type": "test.run.completed",
  "userId": "user-uuid",
  "namespace": "production",
  "payload": { ... },
  "createdAt": "2026-03-13T10:30:00Z"
}
The payload field contains event-specific data (test results, fuzzing findings, etc.).
If a webhook secret is configured, the payload is signed with HMAC-SHA256 and the signature
is included in the X-Mockarty-Signature header. A X-Mockarty-Timestamp header is also sent.
Delivery Behavior
Webhook deliveries are fire-and-forget with a 10-second timeout per request. Up to 10 webhooks can be delivered concurrently. If the concurrency limit is reached, additional deliveries are dropped for that event cycle.
Note: There is currently no automatic retry for failed webhook deliveries. If the target URL is unreachable or returns an error, the delivery is logged but not retried. Ensure your webhook receiver is highly available.
Use Cases
- Slack notifications: Post to a Slack channel when a test run fails (
test.run.completed) - CI/CD gates: Block deployments when fuzzing finds new vulnerabilities (
fuzzing.finding.new) - Agent monitoring: Track agent task progress and failures (
agent.task.*) - Audit trail: Forward all events to a logging service for compliance
- Dashboard updates: Trigger dashboard refreshes on system alerts (
system.alert)
Telemetry & Monitoring
OpenTelemetry Integration
Mockarty supports OpenTelemetry for distributed tracing of mock resolution and find operations. Tracing is configured through the Admin Panel > Monitoring tab in the Web UI, not via environment variables. The admin can enable/disable tracing, choose the exporter type (gRPC or HTTP), set the OTLP endpoint, service name, and extra headers. Changes apply on the fly — no restart required.
Prometheus Metrics
All Mockarty components expose Prometheus metrics at /metrics:
# Admin node
curl http://admin:5770/metrics

# Resolver node
curl http://resolver:5780/metrics
Key metrics include:
mockarty_http_requests_total— HTTP request count by method, endpoint, status codemockarty_http_request_duration_seconds— HTTP request duration histogrammockarty_mock_requests_total— Mock request count by mock ID, namespace, protocolmockarty_mocks_total— Total mock count by namespace, protocol, lifecycle statemockarty_db_query_duration_seconds— Database query duration by operation and tablemockarty_cache_hits_total/mockarty_cache_misses_total— Cache hit/miss countersmockarty_errors_total— Error count by type and componentmockarty_users_total— Total registered usersmockarty_active_sessions— Active user sessionsmockarty_db_connections— Database connection pool statusmockarty_rate_limit_hits_total— Rate limit rejections
Health Endpoints
All components expose health endpoints for monitoring and load balancer configuration:
| Component | Endpoint | Port |
|---|---|---|
| Admin node | GET /health |
5770 |
| Mock Resolver | GET /health |
5780 |
| Runner Agent | GET /health |
6770 |
| Generated servers | GET /health |
8080 (default) |
Health response:
{
  "status": "pass",
  "releaseId": "1.2.3",
  "uptime": "72h15m30s"
}
Grafana Integration
You can create custom Grafana dashboards using the Prometheus metrics listed above. Add Mockarty as a Prometheus data source in Grafana and build panels for the metrics that matter to your team. All metrics from the Prometheus Metrics section are available for dashboarding.
Architecture Diagrams
Basic Setup (Single Node)
┌──────────────┐         ┌──────────────────┐
│  Your App /  │──HTTP──▶│  Mockarty Admin   │
│    Tests     │         │     :5770         │
└──────────────┘         │                   │
                         │  - Mock serving   │
                         │  - Admin UI       │
                         │  - API            │
                         │  - Test runner    │
                         └──────────────────┘
Distributed Setup (Recommended for Production)
                         ┌──────────────┐
                    ┌───▶│  Resolver 1  │
                    │    │    :5780     │
┌──────────────┐    │    └──────┬───────┘
│  Your App /  │────┤           │ gRPC :5773
│    Tests     │    │    ┌──────▼───────────────┐
└──────────────┘    │    │   Mockarty Admin     │
                    │    │      :5770           │
                    └───▶│                      │
                         │  - Admin UI          │
                  ┌──────│  - Coordinator       │
                  │      │  - Configuration     │
                  │      └──────────────────────┘
                  │ gRPC :5773
                  │
           ┌──────▼───────┐
           │  Runner Agent │
           │    :6770      │
           │               │
           │  - API tests  │
           │  - Load tests │
           └───────────────┘
Full Architecture with Server Generator
┌─────────────────────────────────────────────────────────────────────┐
│                        Development Environment                      │
│                                                                     │
│  ┌────────────┐    ┌─────────────┐    ┌────────────────────────┐   │
│  │  API Spec  │───▶│  Server     │───▶│  Generated Server      │   │
│  │  (OpenAPI) │    │  Generator  │    │  :8080                 │   │
│  └────────────┘    └──────┬──────┘    │                        │   │
│                           │           │  Serves mock responses │   │
│                    creates mocks      │  from Mockarty         │   │
│                           │           └───────────┬────────────┘   │
│                           ▼                       │                 │
│                    ┌──────────────┐                │                 │
│  ┌──────────┐     │  Mockarty    │◀───────────────┘                 │
│  │ Frontend │────▶│  Admin       │     fetches mock data            │
│  │   App    │     │  :5770       │                                   │
│  └──────────┘     └──────┬───────┘                                  │
│                          │                                          │
│                   ┌──────┴───────┐                                  │
│                   │              │                                   │
│            ┌──────▼──────┐ ┌────▼────────┐                         │
│            │  Resolver   │ │  Runner     │                          │
│            │  :5780      │ │  Agent      │                          │
│            └─────────────┘ └─────────────┘                         │
└─────────────────────────────────────────────────────────────────────┘
Port Reference
| Component | Default Port | Purpose |
|---|---|---|
| Admin node (HTTP) | 5770 | Admin UI, API, mock serving |
| Admin node (MCP) | 5772 | MCP server for AI tools |
| Admin node (gRPC coordinator) | 5773 | Node coordination |
| Mock Resolver (HTTP) | 5780 | Mock serving |
| Mock Resolver (Dashboard) | 6780 | Resolver dashboard |
| Runner Agent (Dashboard) | 6770 | Runner dashboard |
| Generated server (HTTP) | 8080 | Generated server traffic |
| Server Generator Orchestrator | 8888 | Orchestrator API & UI |
Kubernetes Integration Management
In Kubernetes environments, the Mockarty CLI and Admin API support dynamic management of cluster integrations – adding, removing, and configuring resolver nodes and runner agents without editing Helm values or raw manifests.
Dynamic Integration Commands
# Add a new resolver node to the cluster
mockarty-cli cluster add-resolver --namespace production --replicas 2

# Add a new runner agent
mockarty-cli cluster add-runner --namespace staging --replicas 1

# Remove an integration (resolver or runner) by name
mockarty-cli cluster remove-integration --name resolver-production-3

# List all active integrations
mockarty-cli cluster status --integrations
These commands patch the MockartyCluster CR, and the operator reconciles the changes into Kubernetes resources automatically.
Namespace-Scoped vs Admin-Scoped Integrations
| Scope | Description | Token Type | Visibility |
|---|---|---|---|
| Namespace-scoped | Integration belongs to a specific Mockarty namespace. Resolvers only serve mocks from that namespace. | mki_* (scoped) |
Namespace admins |
| Admin-scoped | Integration is global. Resolvers serve mocks from all namespaces. | mki_* (global) |
System admins only |
Namespace-scoped integrations are useful for multi-tenant environments where each team manages their own resolvers. Admin-scoped integrations are for shared infrastructure.
Resource Quotas
To prevent resource exhaustion in shared clusters, configure per-namespace limits:
| Environment Variable | Default | Description |
|---|---|---|
K8S_MAX_RUNNERS_PER_NS |
5 | Maximum runner agents per Mockarty namespace |
K8S_MAX_RESOLVERS_PER_NS |
3 | Maximum resolver nodes per Mockarty namespace |
When a namespace exceeds its quota, the CLI and API return an error and the operator rejects the CR update. Quotas are enforced at the operator level, not by Kubernetes ResourceQuotas.
RBAC Matrix for Kubernetes Operations
| Operation | Viewer | Editor | Namespace Admin | System Admin |
|---|---|---|---|---|
| View cluster status | Yes | Yes | Yes | Yes |
| View integration details | No | Yes | Yes | Yes |
| Add resolver/runner (own namespace) | No | No | Yes | Yes |
| Remove integration (own namespace) | No | No | Yes | Yes |
| Add resolver/runner (any namespace) | No | No | No | Yes |
| Remove integration (any namespace) | No | No | No | Yes |
| Scale integrations | No | No | Yes (own NS) | Yes |
| View cluster logs | No | No | Yes (own NS) | Yes |
RBAC roles are managed through the Admin Node’s Casbin-based authorization. The operator itself uses a dedicated ServiceAccount with the minimum required Kubernetes RBAC permissions.
For full details on CRD configuration, HPA auto-scaling, and network policies, see the Scaling Architecture guide. For initial cluster setup and Helm installation, see the Deployment Guide.
See Also
- Installation & Deployment — Docker Compose examples, environment variables, and TLS setup
- Code Generator Guide — Detailed guide to the server generator CLI for all supported protocols and brokers
- Administration Guide — User management, namespaces, authentication, and security
- API Reference — Full REST API documentation for programmatic mock management
- Quick Start Guide — Get up and running in 20 minutes
- Contract Testing — Validate mocks against API specifications and detect breaking changes
- Chaos Testing — Inject failures, latency, and errors to test system resilience